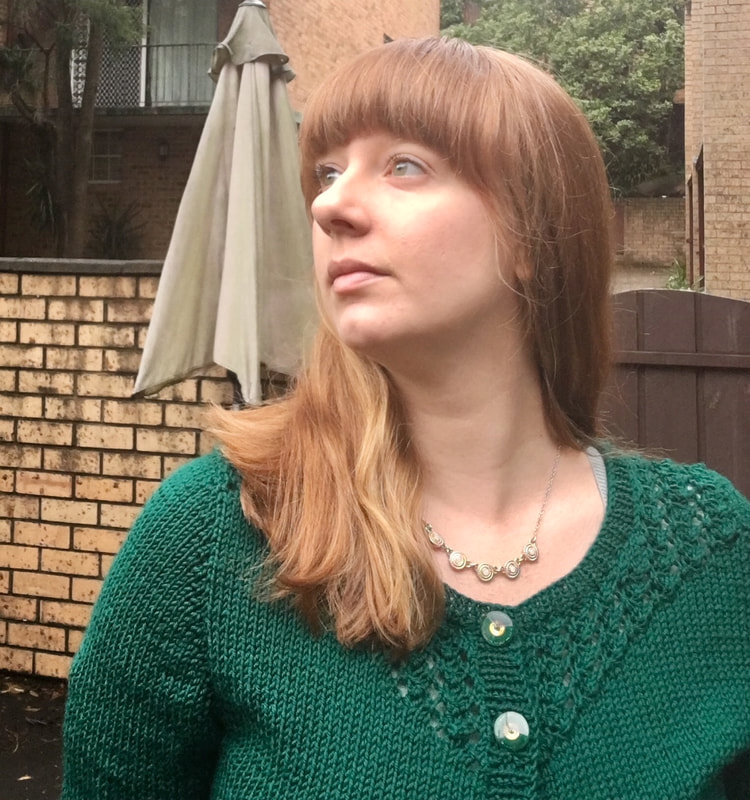
 This cardigan has been finished since the 9th of Jan 2018. Due to the Australian summer, it had been stashed in winter storage. We are having some cooler autumn days and it's time for this beauty to say hello to the world! I am very happy to introduce Salal - pattern by Andi Satterlund. It's a top down cardigan knitted in the round. Sleeves are picked up and knitted down as well. The lace pattern is delicate AND balanced on each side. The 4-row repeat is easy to remember. A wonderful design detail is how the lace starts behind the top centre line of the sleeve. It gives a nice wrap-around feeling. The yarn is Cascade 220 Superwash in Hunter Green. Oh, it's so beautiful. Gorgeous to knit with, smooth, not splitty. The result is a fabric that has great stitch definition but is not scratchy. Mods: Lengthened the sleeve to wrist length/long sleeves. 3/4 sleeve are great, but I have lots of jumpers/cardigans like that. Was time for a long sleeve cardi! To achieve that, I repeated the decrease pattern 1 more time and then just the length again. (i.e.: K5 rounds, decrease 2 sts in next round, K5 rounds, change to K1P1 rib). Top down sleeves are finished so quickly, they are a dream to do. Usually I drag my feet when it comes to doing sleeves. Straight and narrow pieces with lots of seaming = eh. But top down?! I smash them out in a few days. I have another Salal planned in a soft girly ballet pink. Should be cute! Note: Looking at these images, I think the button band needs the ribbon reinforcement (like this tutorial here) 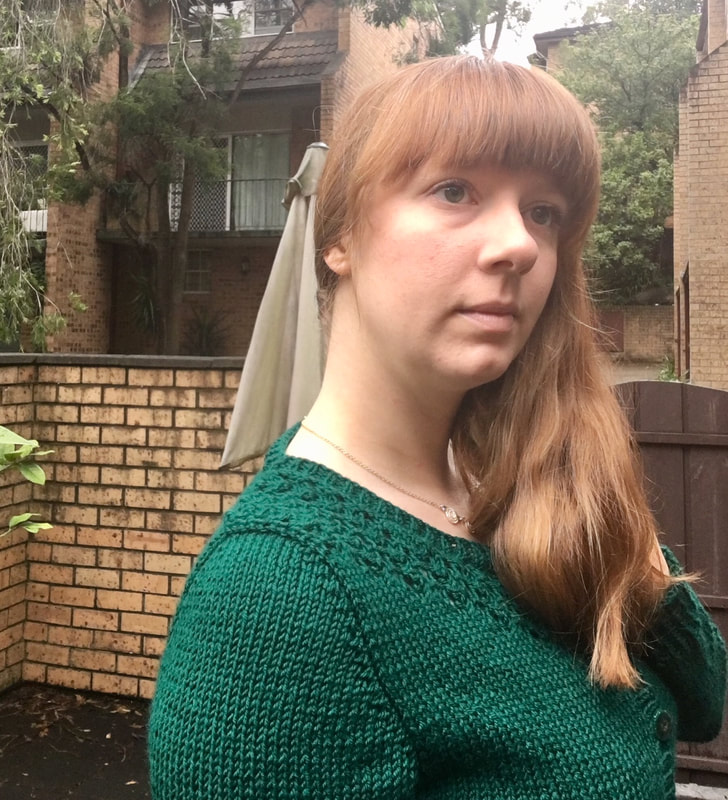 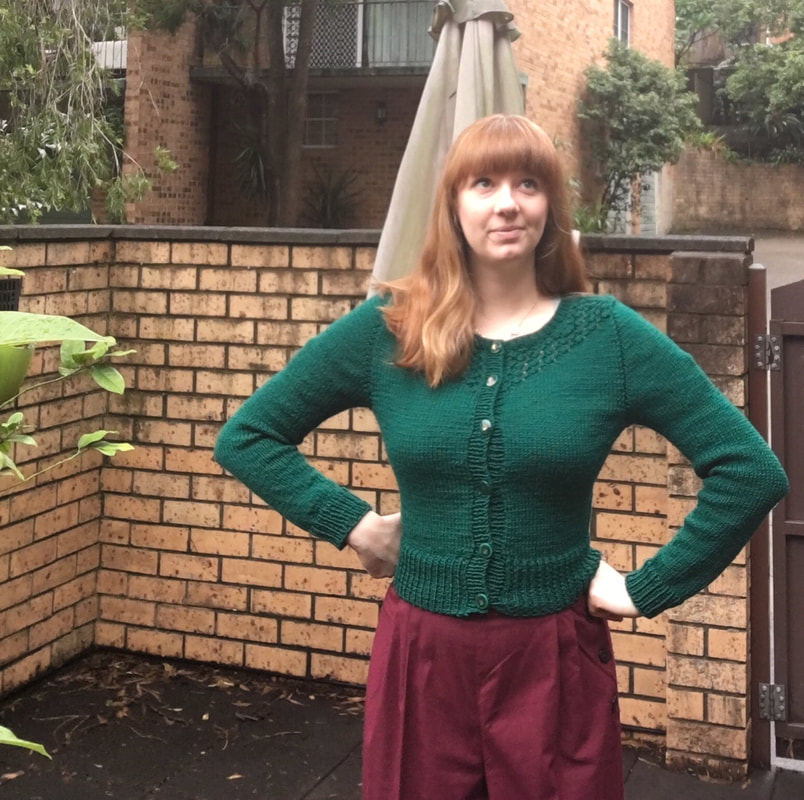
0 Comments
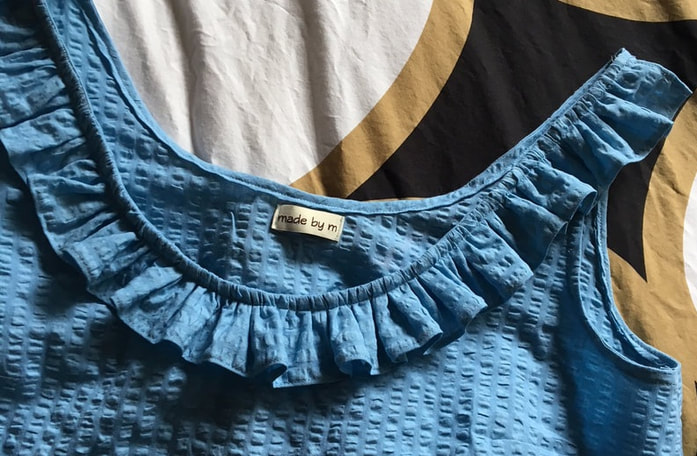 Recently, I had my first ever annual leave. I spent the entire week in my home... sewing. It was a delight. I commenced two dressed (already blogged and now completed), but these pjs were the only project to be completed during the week. They made it out alive and in one piece! Introducing.... this gorgeous and playful 1960s reproduction pattern from Burda. I made a sleeveless View C (bias finished armholes), and the bloomers from View D. Before commencing the cutting out and sewing, I sketched how I wanted it to look. Sketching is something I am doing more of now, helps keep my sewing plans in line. 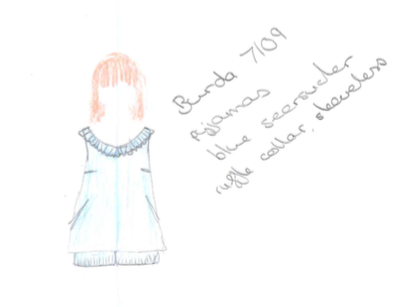 The ruffle was a real doozy for me. Simple enough, but I think I completed it in many more steps than necessary. There is the actual pyjama top, then the ruffle, then bias which is stitched down under the ruffle (i.e.: holding the ruffle out of the way). Then the ruffle was all-sticky-up and awkward. So I top stitched it down. Much happier. Honestly, it took me too long to get a completed ruffle. I'm not sure if I would ever make this pattern again. It's fast and simple, but how many pairs of pjs do I need? I would maybe consider the full length version as more of a robe type affair. But eh, there are so many other delightful things I could make. Burda is an interesting beast. They certainly assume you know how to do things. They assume you know conventions about finishing and trimming seams, or how to make a casing, or how to understand their brief instructions. I use their instructions like a guide, but it usually follows the same sort of order. Stay stitch if needed - darts - bindings - decorative things like ruffles/pockets/zips - side seams - hems and finishing. If you know the standard order of construction everything will be fine. If you need more help than that while sewing, then go with Vogue, Butterick or Simplicity. The bloomers are totally adorable. I used lingerie elastic that I had in my stash so... free! The elastic is tight enough that I don't have gravity issues... and loose enough for nighttime comfort. They are also a great little stash busting boxer short pattern. Adorable and a breeze to make! As always, the labels from Dutch Label Shop make everything look complete and finished. 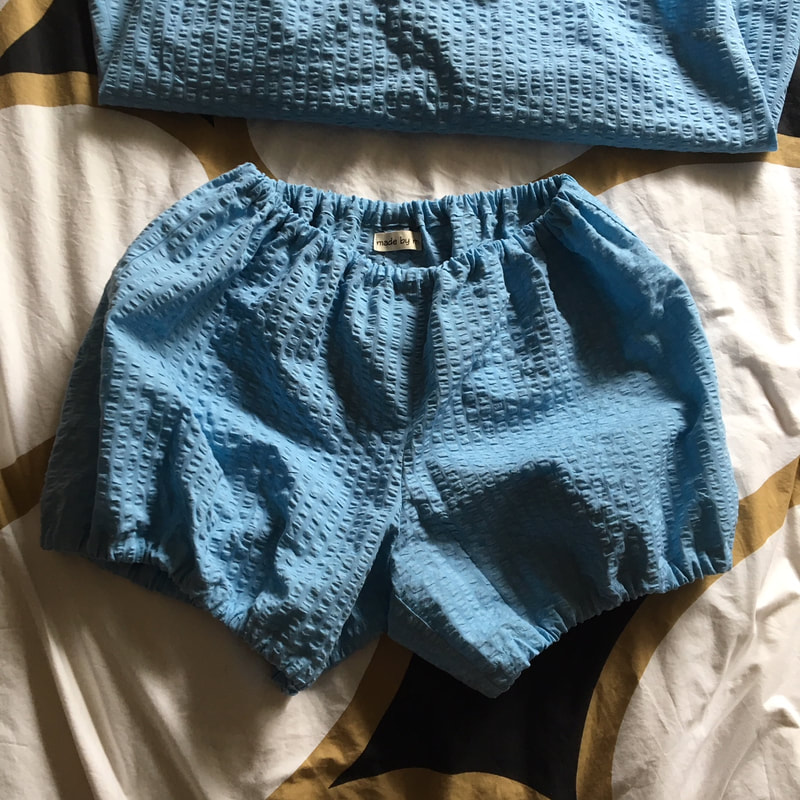 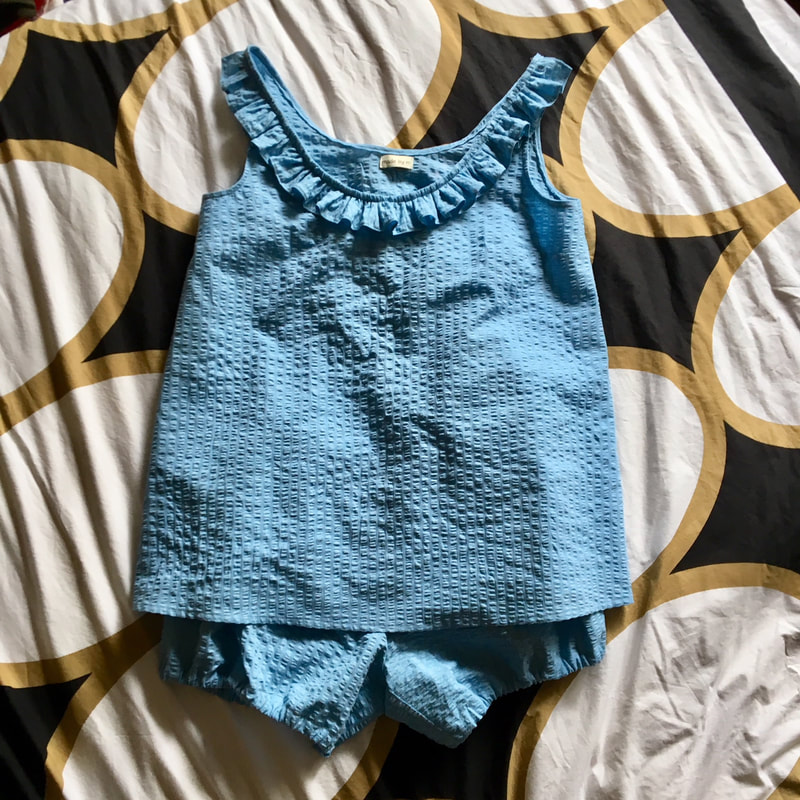 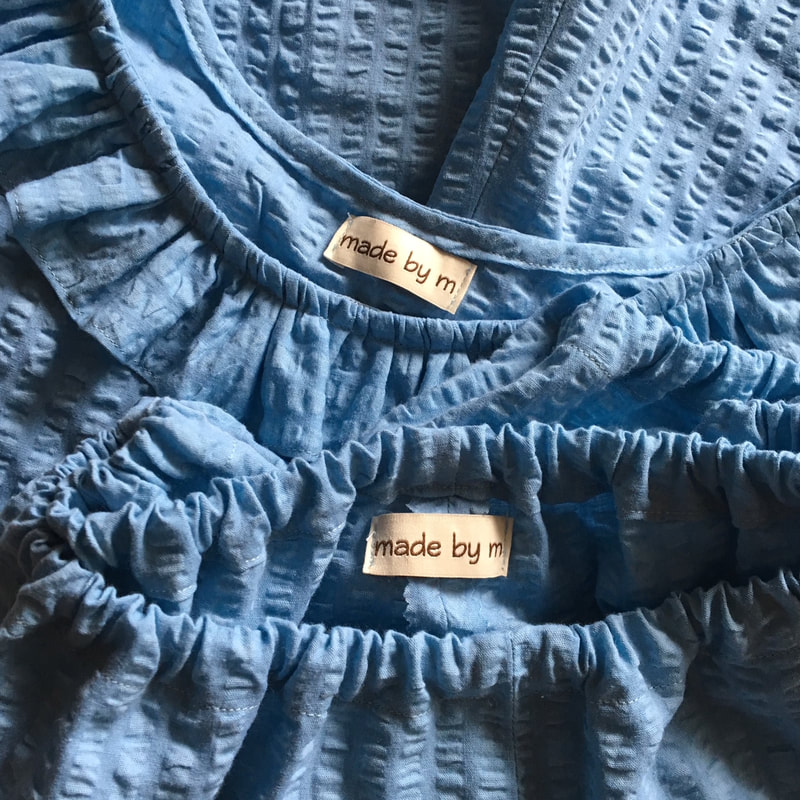 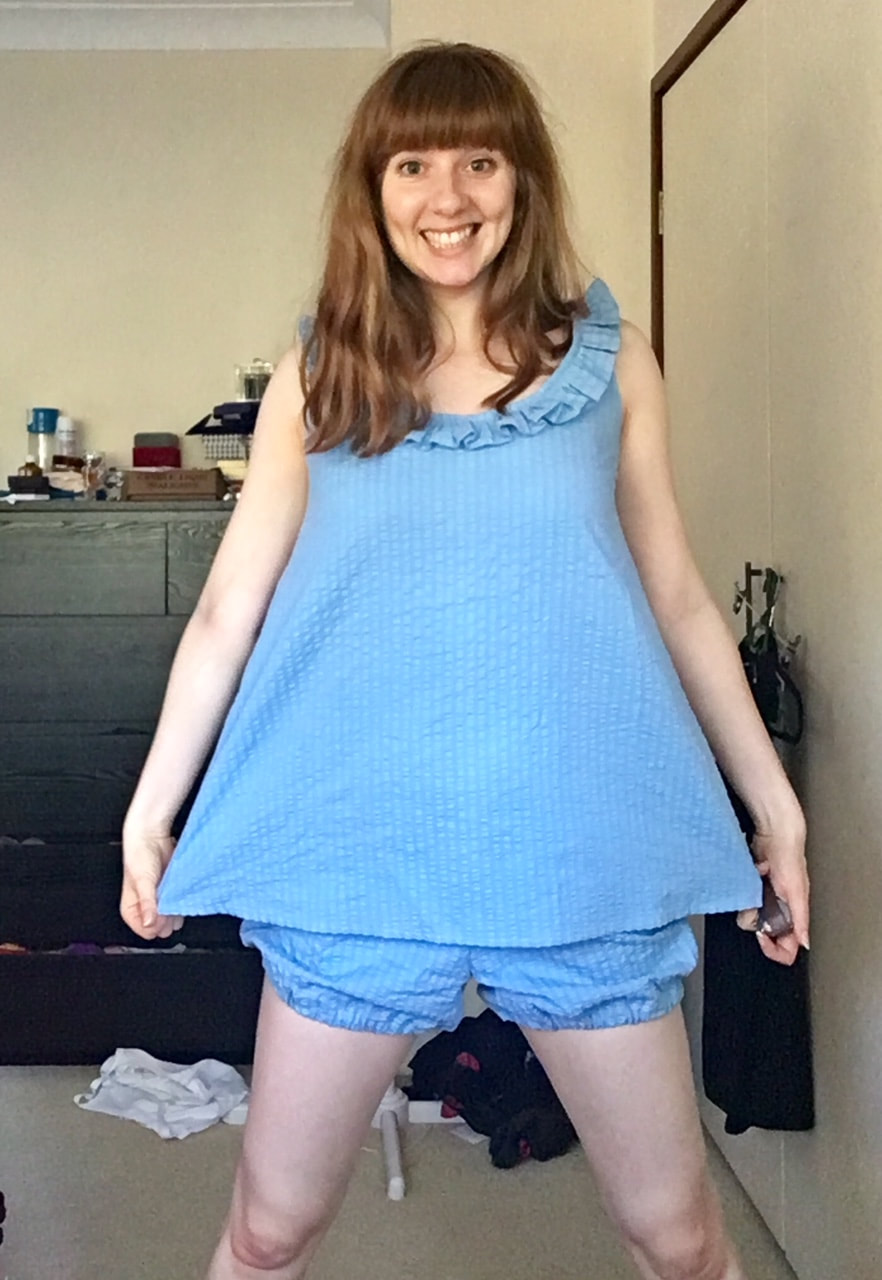 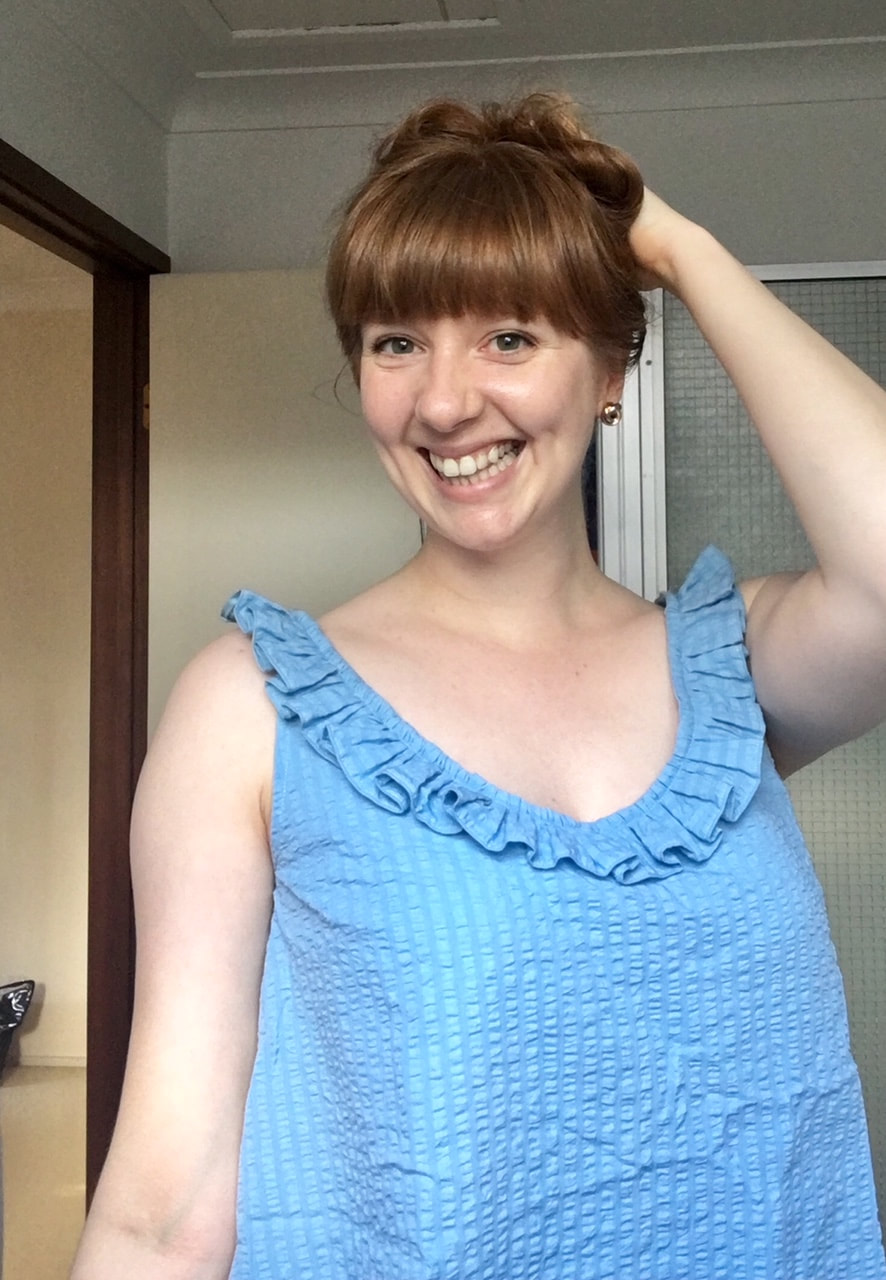 Pj's: Burda 7109
Messy room: Courtesy of busy work and full weekends 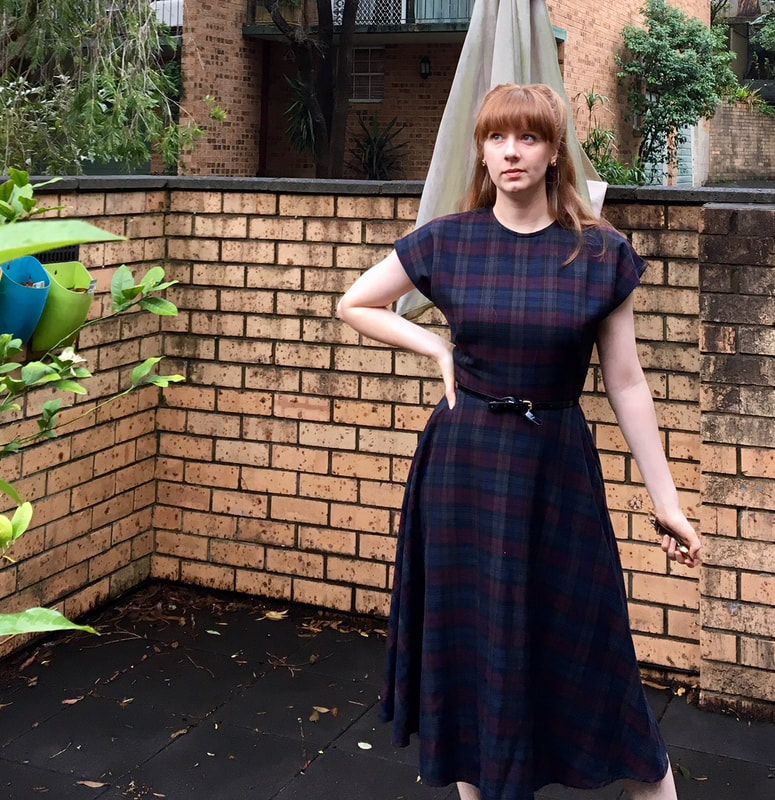 Another work dress! This is a lovely pattern I've made before - Vogue 8811. Seriously loving it. This is my third version. And yes, this dress is a result of my annual leave sewing week. It's the standard size 12 made with no pattern adjustments. The neckline facing was neatly top stitched, the sleeves and hem done by machine as well. The only scrap of hand stitching was the side zip. There is more stability and control when hand stitching side zips, especially when trying to match an unbalanced plaid! Oh, there is also an adorable thread loop and button at the back neck. Gorgeous vintage detail. My large button stash rewarded me with a perfect little lonely black button. I hope it enjoys its new life. The fabric is a mid-range polyester thing from Spotlight. It's really pretty and it was lovely to sew. It has a rich navy base with dark greys, bright blues and deep reds through the plaid. I tried to do some serious pattern matching - the centre front and back stripe, the top of the kimono sleeves, the bodice and skirt side seams... everything! What a slow process cutting out becomes when more attention is needed. To keep the centre stripe lined up on the bodice and into the skirt, the skirt had to be cut with a different grainline. That meant the skirt side seams were right through the bias. I would have finished this weeks ago through the annual leave week, but I had to let the bias settle. It ended up dropping 5cms through the sides over the course of 2 weeks! Glad I left it for as long as I did. The shape of Vogue 8811 is so flattering and classic. It's perfect for work and pretty easy care. No difficult sleeves to press, no awkward darts to manage. Easy care is the focus of my handmade work wardrobe. The poly fabric means I can easily fold/roll/squeeze it into a suitcase and travel without an iron requirement. By the way, I never put shoulder pads into my dresses - I have enough shoulders naturally! 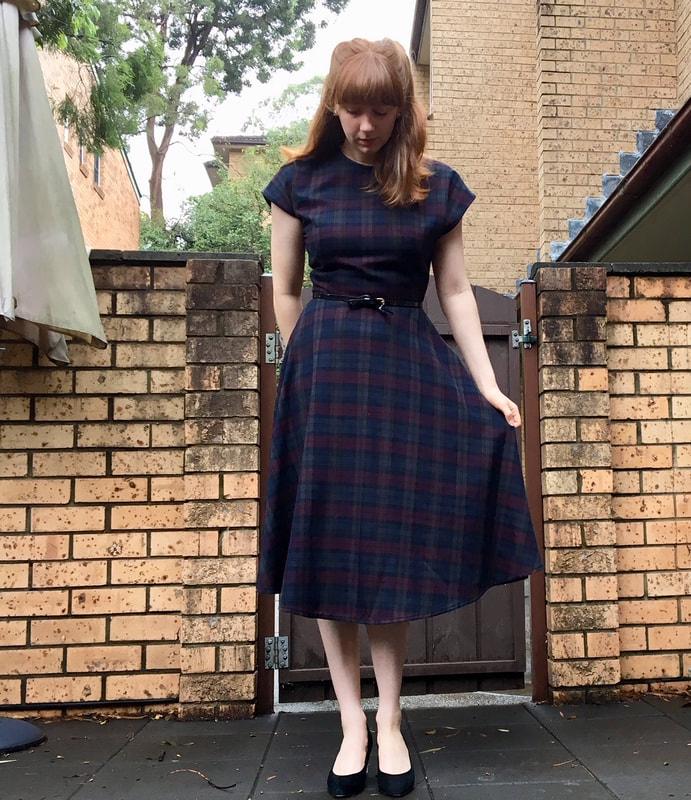 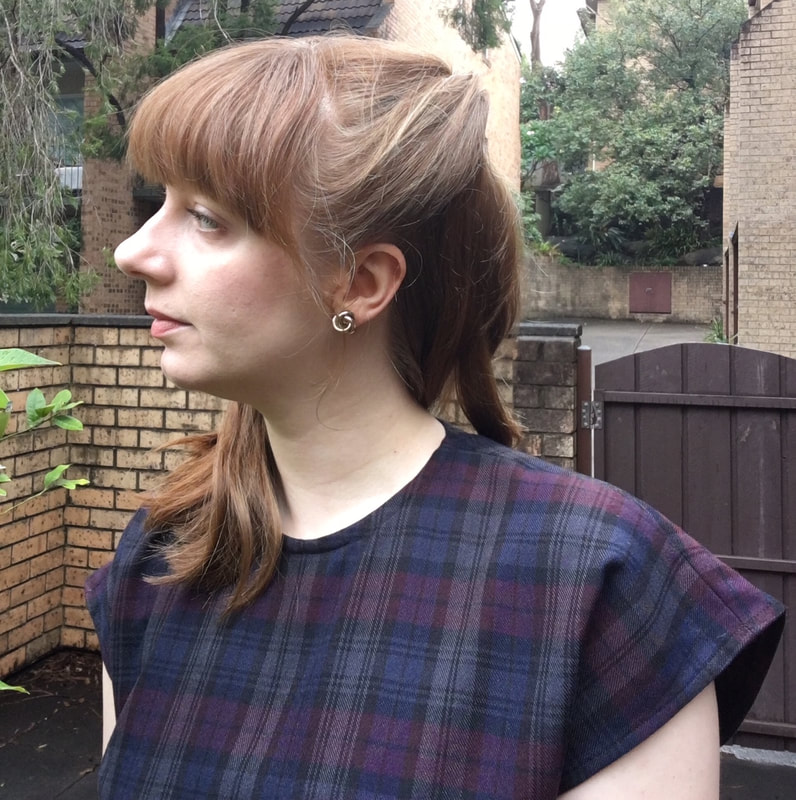 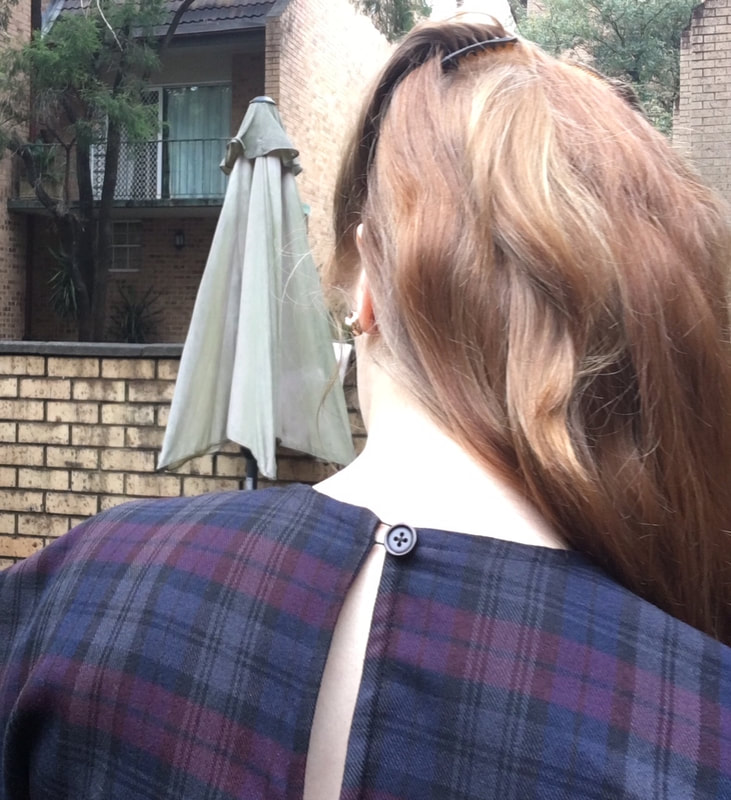 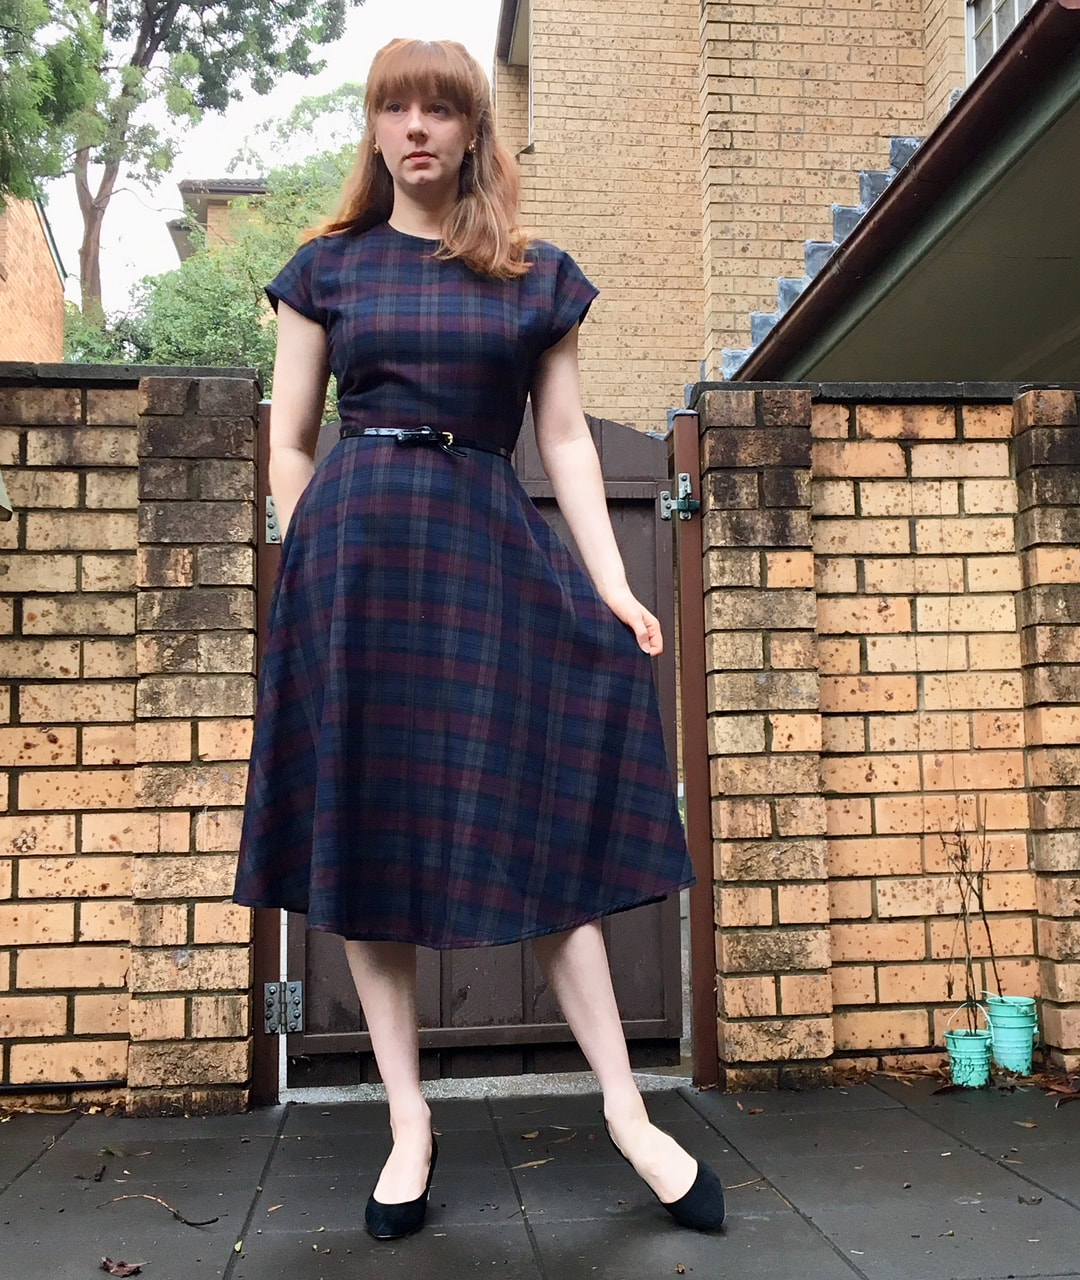 Dress: Vogue 8811
Belt: eBay? Gold knot earrings: Lovisa Shoes: Django & Juliette 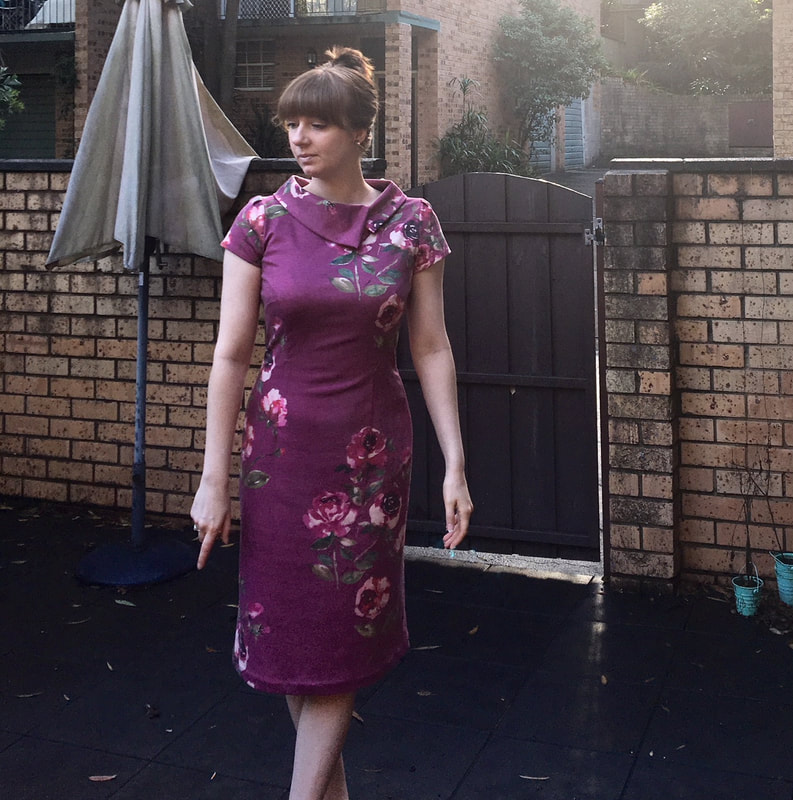 A new work dress! I wanted classic, Mad Men-esque, comfortable dresses that I could wear to the office. The dresses must also work for travel and client meetings. New Look 6000 saves the day again. This dress in ponte is the best decision I ever made. And I have a few more variations of this in the works. I sketched out what I wanted and sew'd it during my annual leave week. Sketching my plans has helped me sew with more focus and direction. It also helps me to organise my stash and my patterns better. As soon as I buy fabric for a particular pattern I draw it and describe it. Hopefully it will help me make more things in the long run! 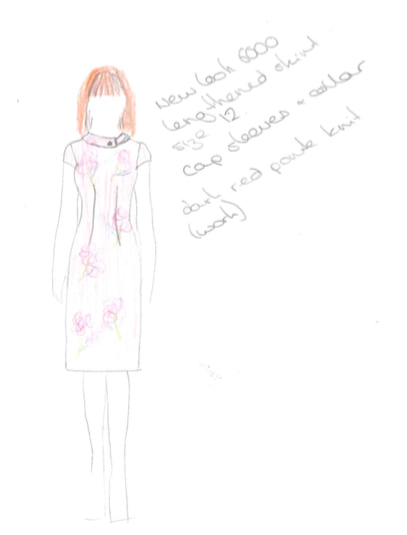 The 'lengthened skirt' note is from an adjustment I made for a previous version. I used the same standard pattern but with an additional 4 inches of length in the 'length/shorten here' line on the skirt. Went from above knee length to just around my knees which is perfect. This took me a while to cut out because I had to make sure I didn't end up with flower nipples or a flower bum, or a flower crotch. I traced the front on a single layer of fabric (i.e.: not on the fold) so I could really control the flower placement. I think it worked out quite well. The collar rocks my world. The ponte is both drapey and stable enough to make it work like a dream. Even the back of the collar is really pretty. The two sharp points at the back are stylish and in my opinion, very Mad Men. 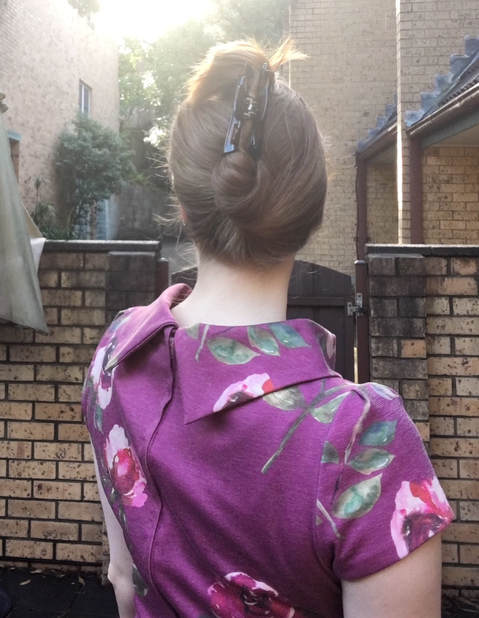 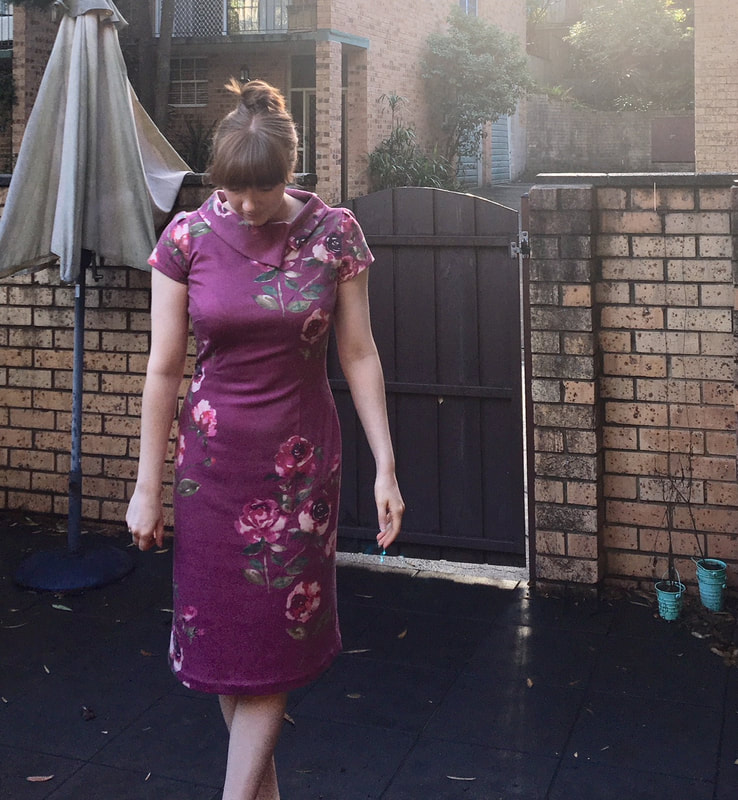 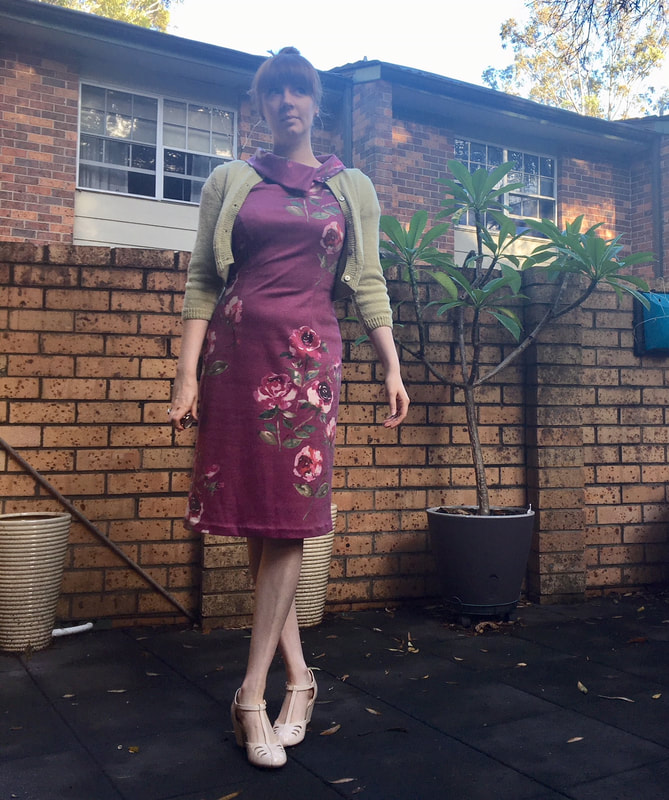 There was a little bit of an autumn chill in the air so I paired it with my avocado Anita cardi that I made a few years back. I also took a purple shawl to throw over my legs to protect them from the office air conditioning.
Note: I know. The hem is weird. I have to press it a bit more. It really doesn't look that bad in real life. |
AuthorKnitter. Home seamstress. Dance Teacher. Archives
April 2023
Categories
All
|
 RSS Feed
