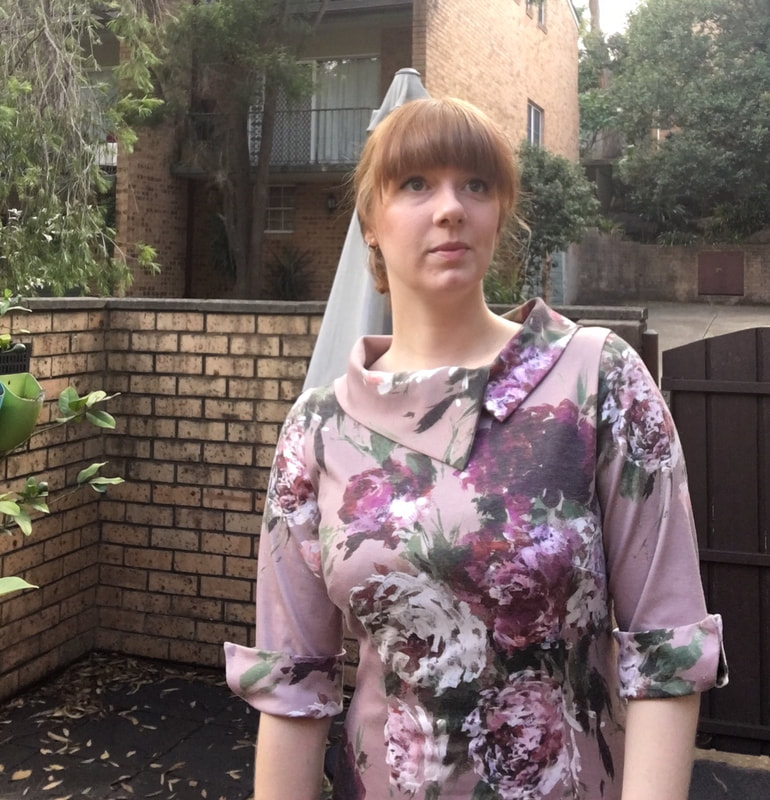
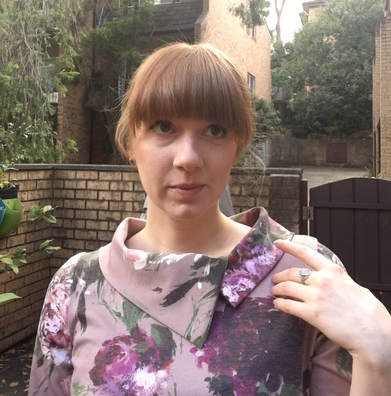
 There are 6 retro style New Look 6000's in my wardrobe now. Perhaps that is enough? This is the last formal plan of my Mad Men style work wardrobe. Of course, there are other blouses, and skirts, and dresses, and jumpers... and pants that I want to add to my wardrobe! But this was a specific plan to have an easy travel/throw on dress that could do business meetings, travel and opening nights. This version is my usual 4" longer hem to bring it into that mid-60s sweet spot. Collar, short sleeves and cuffs on this variation move it slightly into the cooler months. Only the hem, holding the cuffs together, and the inside neck facing near the zip were stitched by hand. I am very much in favour of machine stitching everything. The fabric is a delicious and creamy floral ponte from Spotlight. It's a browny/pinky/mauve colour which I think will be difficult to match into a full ensembleh. Oh well! Future M's problem. Fabric with a print like this takes so much effort to place. Can't have nipple flowers or crotch blooms. More of my time was spent on the layout of the pattern and double-triple checking everything was placed just so. Please note that the same flower is on the top of both sleeve caps. Yes. That was planned. The mechanical sewing part of this dress was like a dream. The kind of dream where everything is easy and works, you drift from one moment to the next with no resistance. Falling through the experience down a simple and clear cobbled road. I LOVE knits that work like wovens. Incidentally, this dress fulfils two of my MMMay18 pledges. One - wear something me made everyday in May. Two - to complete some of my lagging projects. This dress had been sitting without a hem for at least a month. Last night, I just sat on the couch and did it. Et voila! A new dress for work. Gee, that collar is so classy.
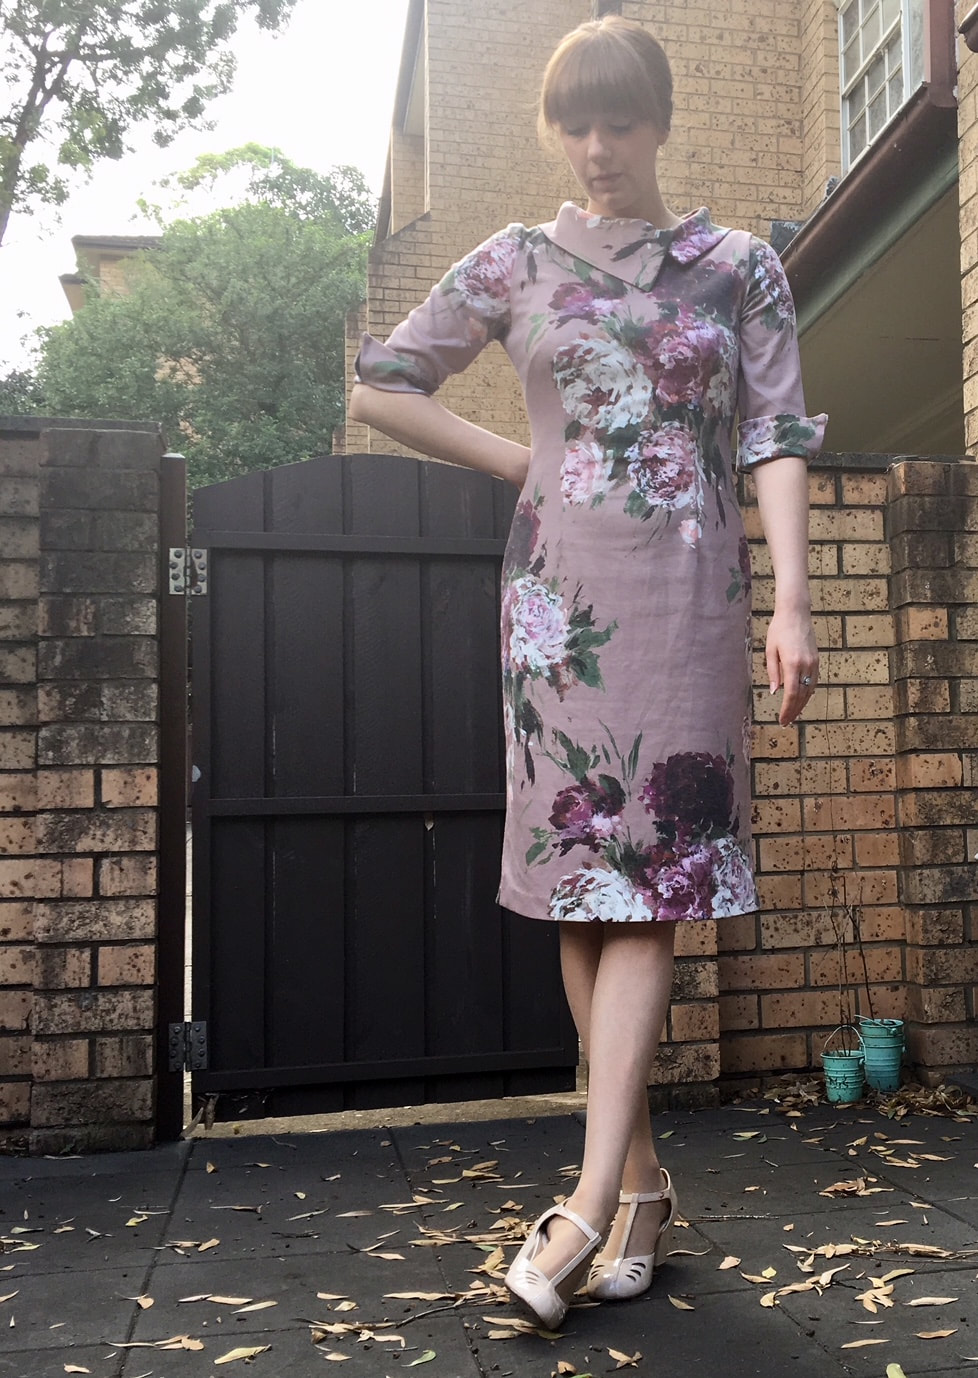 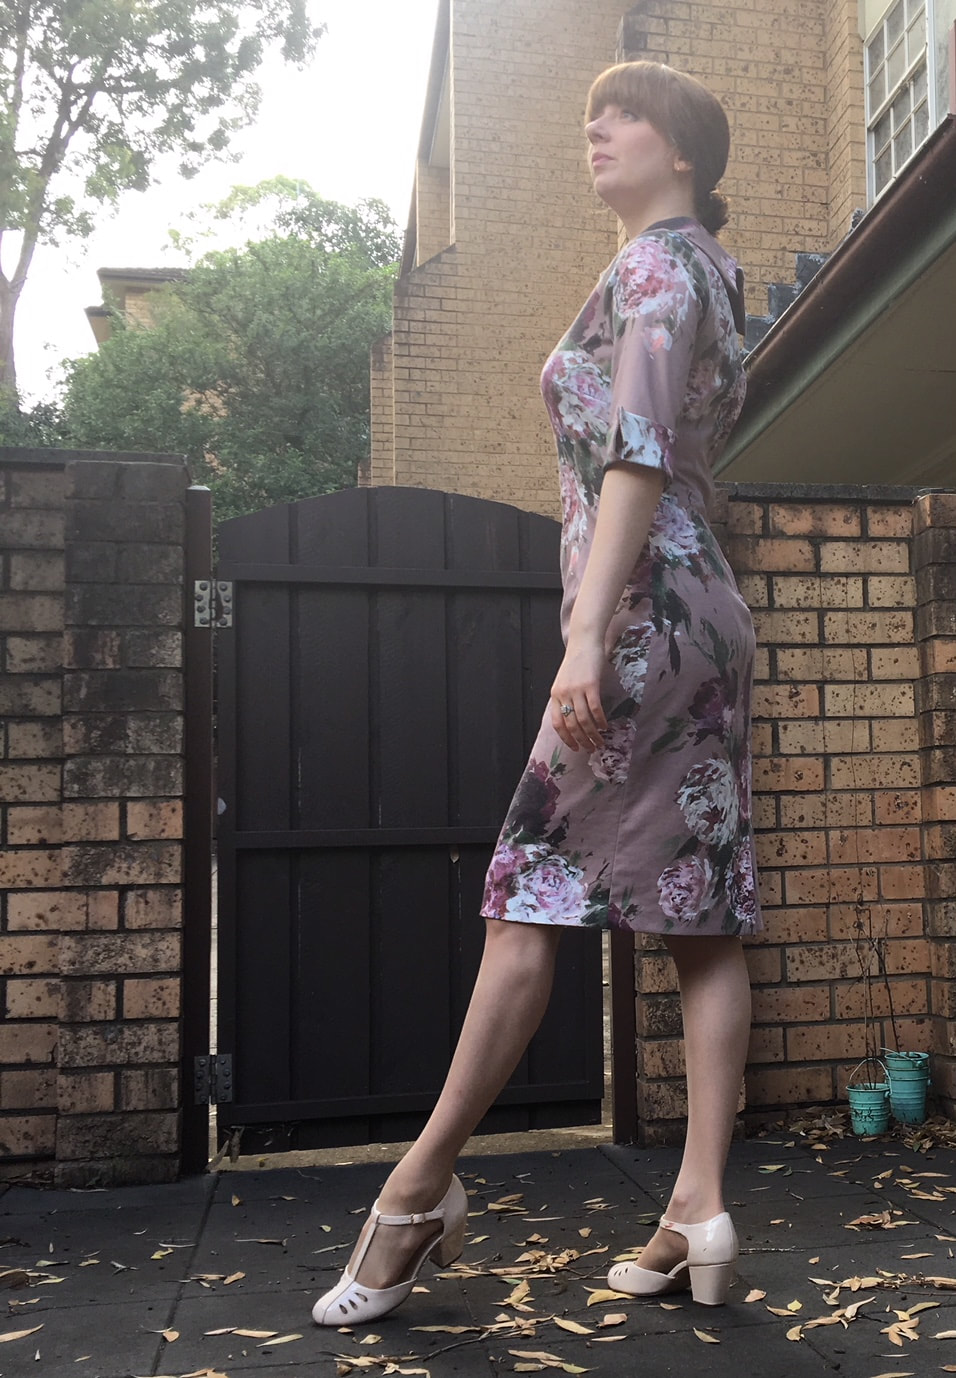 Dress: New Look 6000
Shoes: Kiten D'Amour
0 Comments
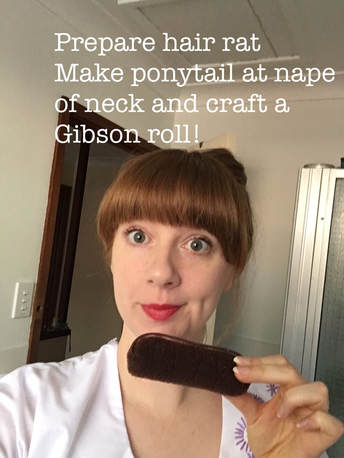
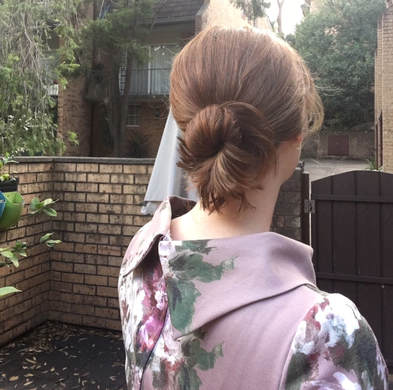
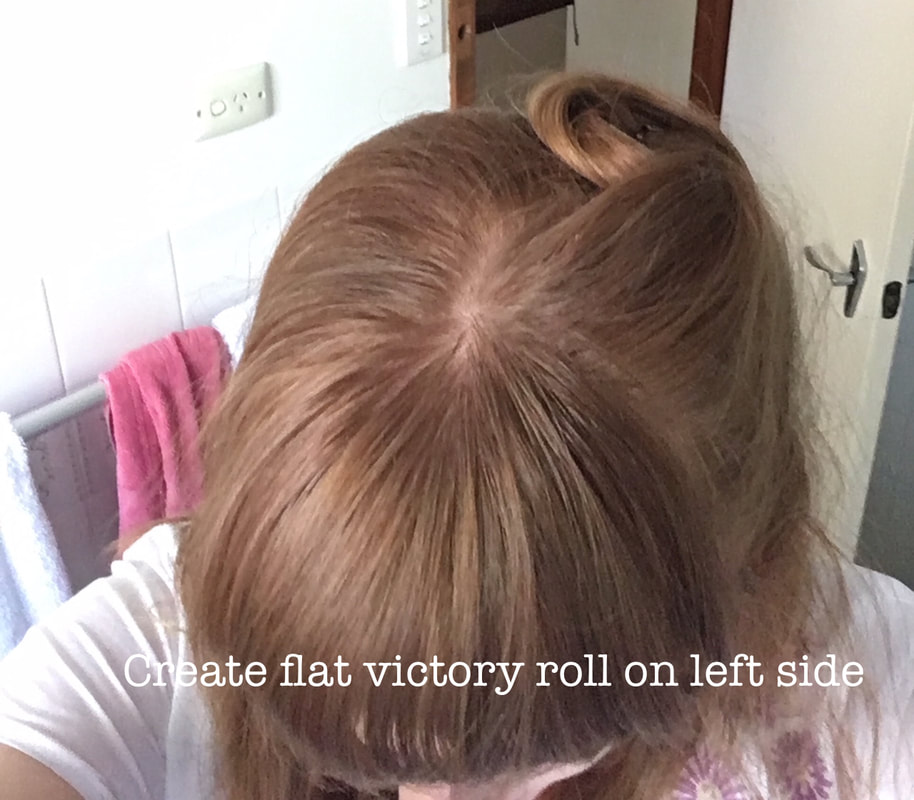
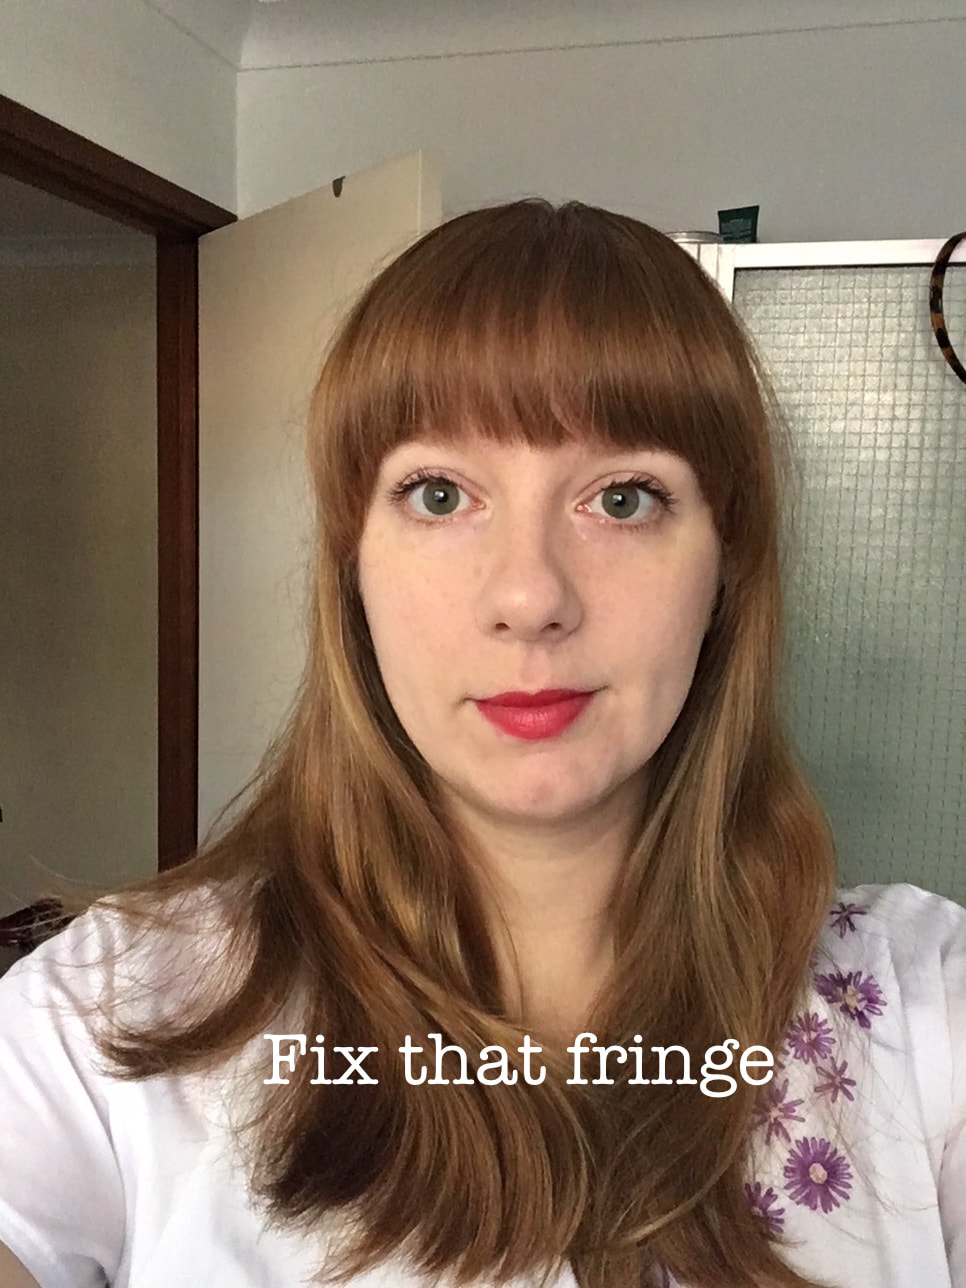
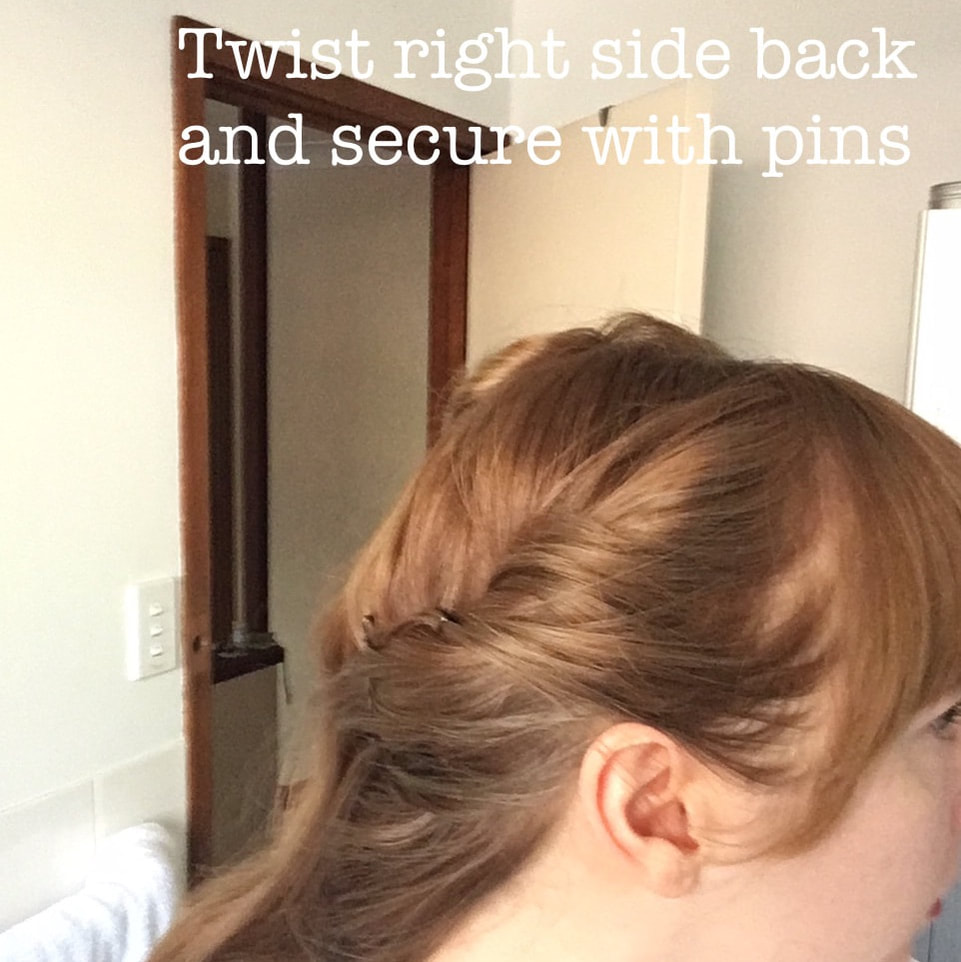
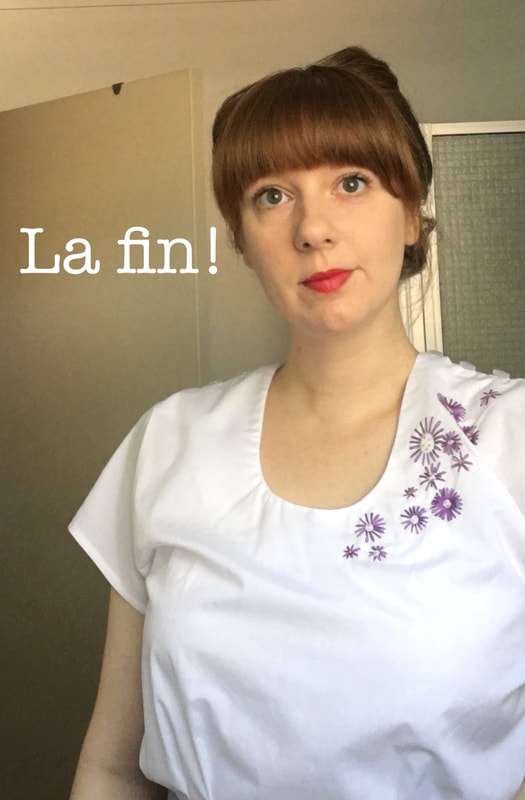
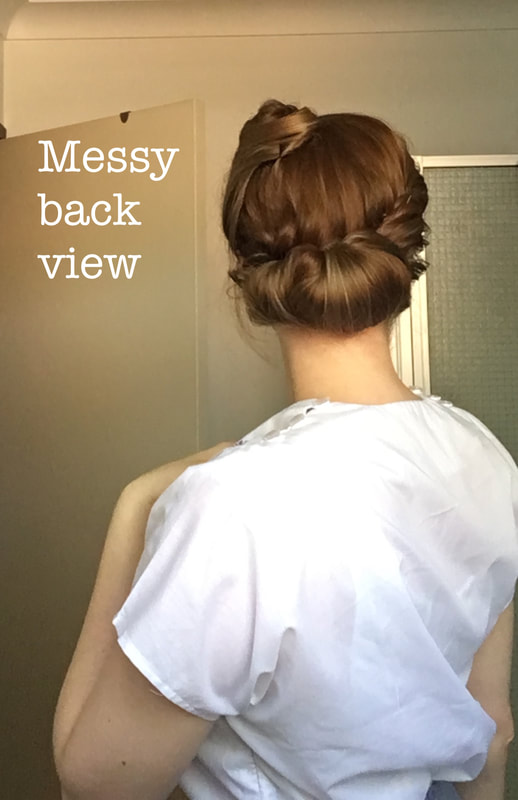
The one thing that is standing in my way to being a full time vintage girl is my hair. #vintagegirlproblems. Right? My hair does not hold heat curl, and I have to wash it every two days because that's just the kind of hair I have. It's never been coloured (humble brag) and I do treat it weekly with delicious masques. As a result, any curls fall out pretty fast. My hair is thick so it's hard to fun flirty styles - they get weighed down. It also doesn't hold teasing. So there goes all the fun 60s beehive styles. As a result, I need to find bankable options that look retro but don't need curl or teasing. Enter the up-do. While at work I have to have a headset on. That seriously decreases the ability for high victory rolls or poodles. Shame really. What I can do are 40s rolls, milkmaid braids and assorted scarf things. This little 'do is a flat victory roll on the left side, a twisted pull back on the right side and then the rest rolled with a hair rat and pinned within an inch of its life. I must say, sometimes this hairstyle can give me a bit of a headache. I've got a tutorial below for you! Interesting outfit note - same fabric, two different days, one is a dress, the other is a blouse!
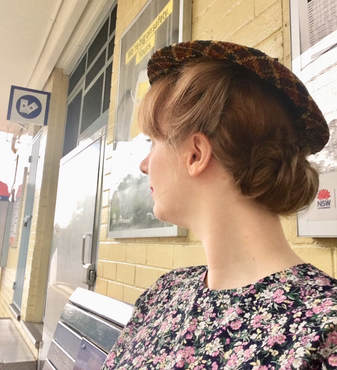
This next one is a pretty standard headscarf Rosie the Riverter style. I plait my hair down the back and then fold it up onto itself. A proper braid would be better but I ain't got those kinda skills. Whack on a headscarf and boom. Vintage cool. This one isn't as great for the office headset, but I make it work. I always recommend nylon scarves over chiffon. They stay in place better. Or, the CanTeen Bandanas! They are a great size, come in awesome colours and makes you feel good. (CanTeen is a charity raising money for children and teens with cancer. They have recently added many more styles to their range. Check it out here). 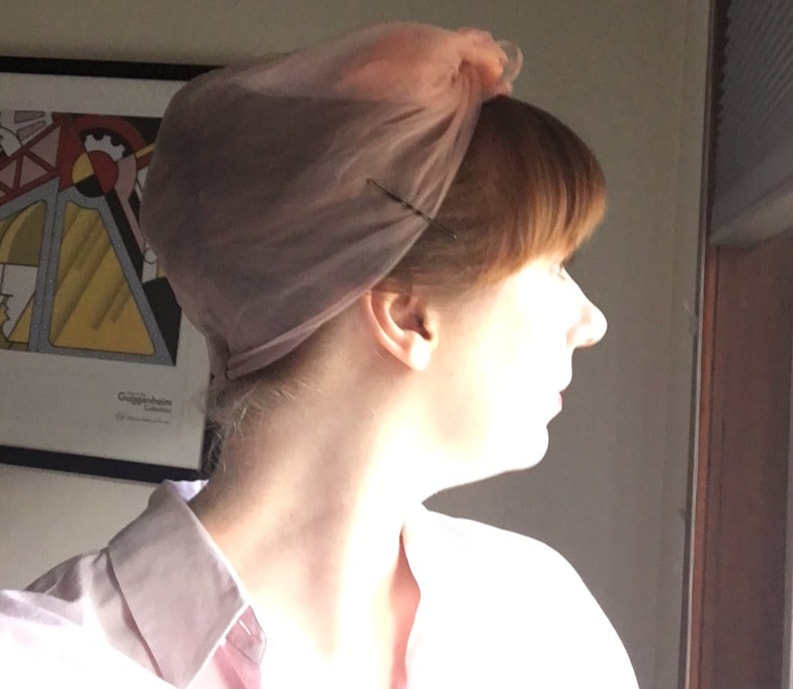 A lot of my life has been spent in dance studios. A very easy up-do for me is the classic ballet bun. Use a hairnet for maximum neatness. Gosh. There is that same fabric again. In all seriousness, the ballet bun is about the fastest hairstyle I can do. A flower is always a great addition. 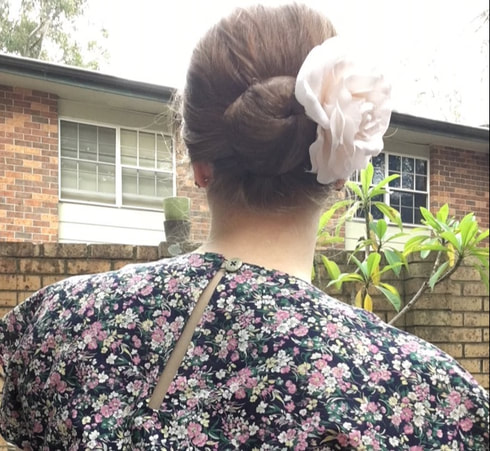 Tutorial: My Go-To Up-Do!
Let me know what your go to vintage hairstyle is - I would love to see!  Behold! My most recently completed sew. It's the Simplicity 1692 blouse reproduction from the 40s. Usually I steer clear of Simplicity patterns, but this blouse goes alright. I cut and made the size 12 with no alterations. (I still have a partially embroidered toile of this pattern on my dress form right now to be finished soon.) I don't know if you can see but there are little pearl buttons on the shoulder and the stupid loops. Those loops took me 4 hours to turn through. Yeah, 4 hours. I was watching telly. After some internet stalking I found one version of this blouse where they used ric rac trim as the shoulder loops. Brilliant idea. 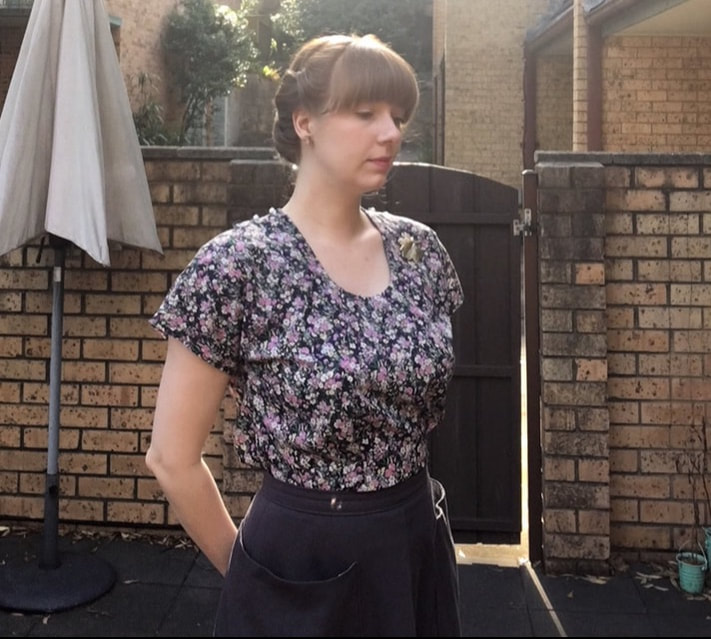 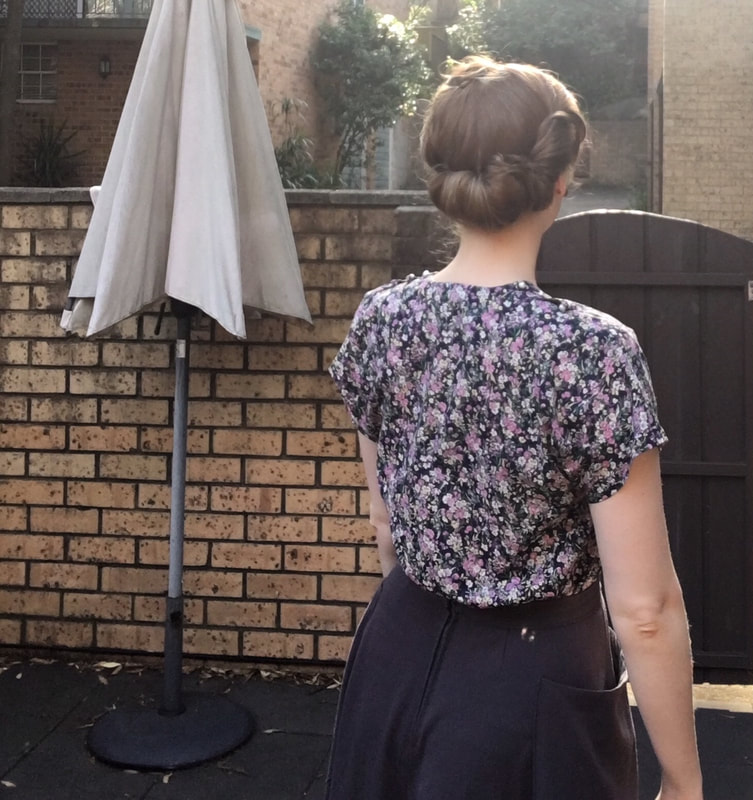 The blouse neckline is really pretty with the low narrow scoop at the front. The waist tucks means it sits nicely under skirts and pants. I even did a pretty great invisible zip in the left side! Kimono sleeves are the best kind of sleeves. I might make this blouse again. If I did it would probably be in a textured black something - like a seersucker? Or maybe even a draped velvet? That would be decadent. The skirt is Simplicity 3766 from the 50s, a true vintage pattern. It's a perfect go to skirt with a grey-blue colour which is great for this navy based Japanese cotton lawn print. You may recognise the cotton lawn fabric from an early post about this 1940s Vogue dress. This little blouse was made from the leftover fabric. The pearl buttons were also in my stash. And I stole the invisible zip from mum. So... the blouse was free! 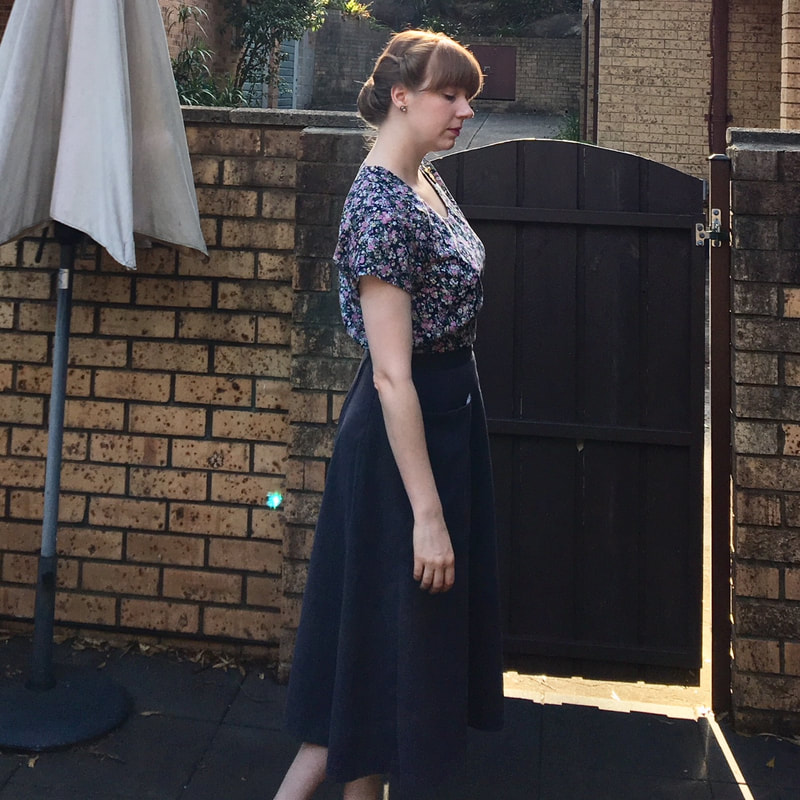 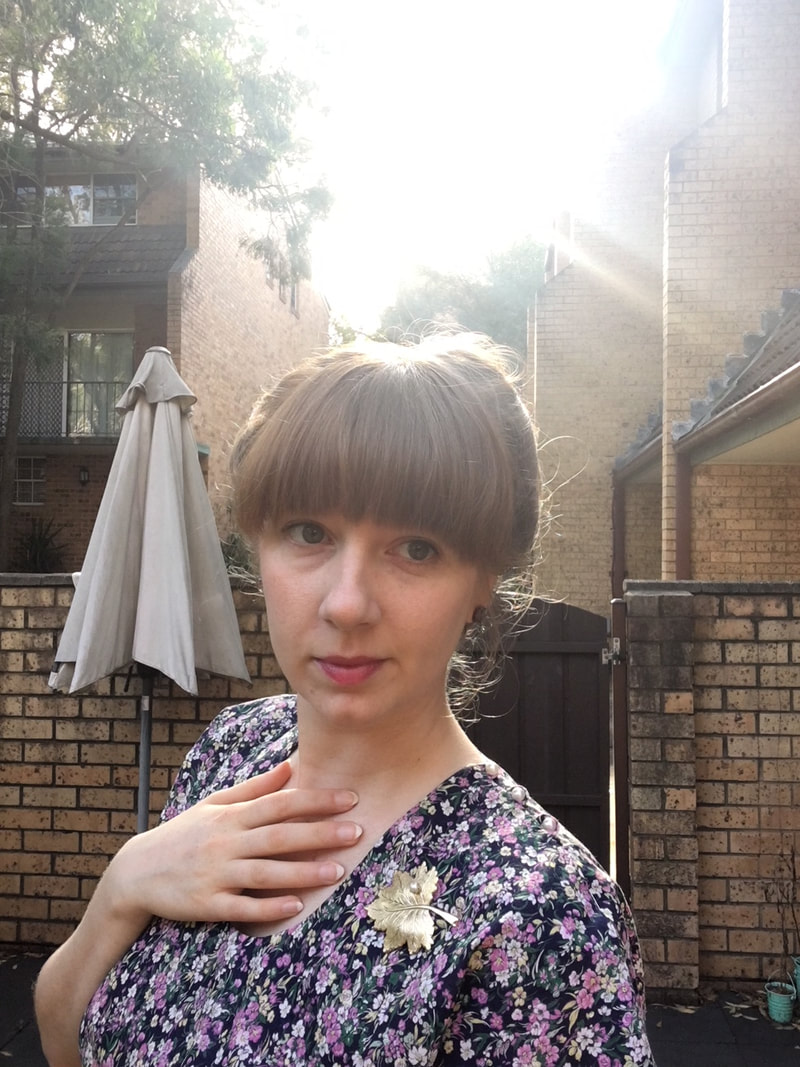 Blouse: Simplicity 1692
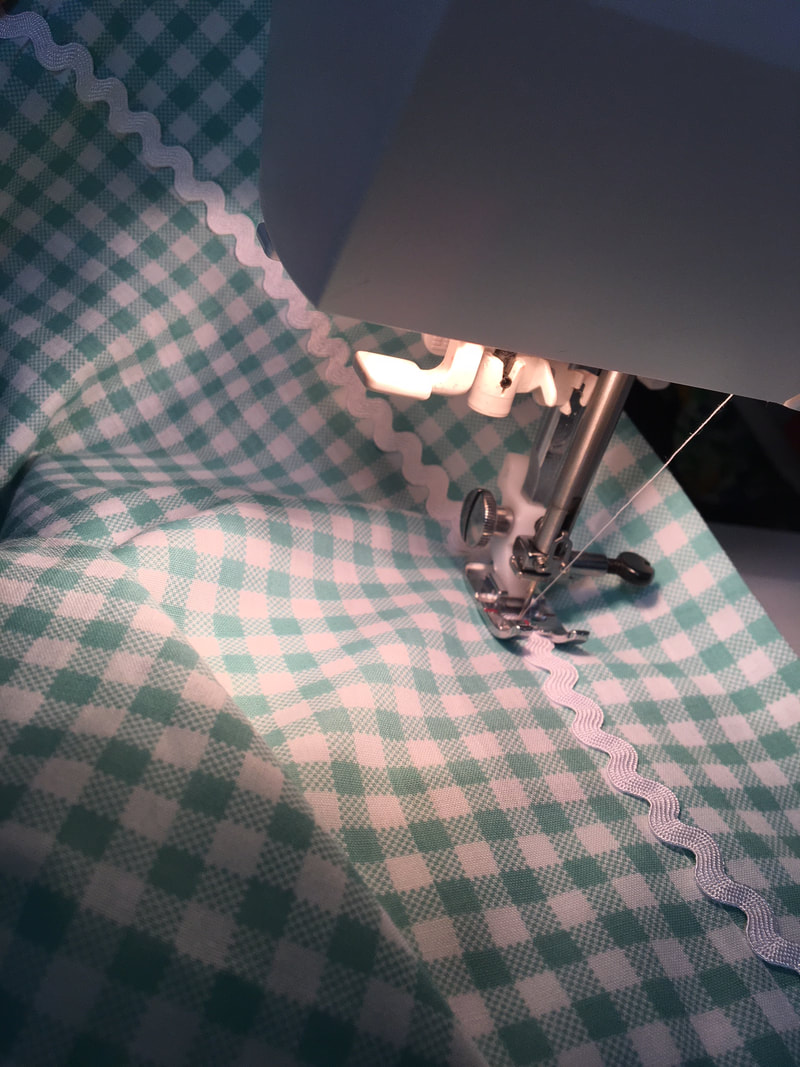
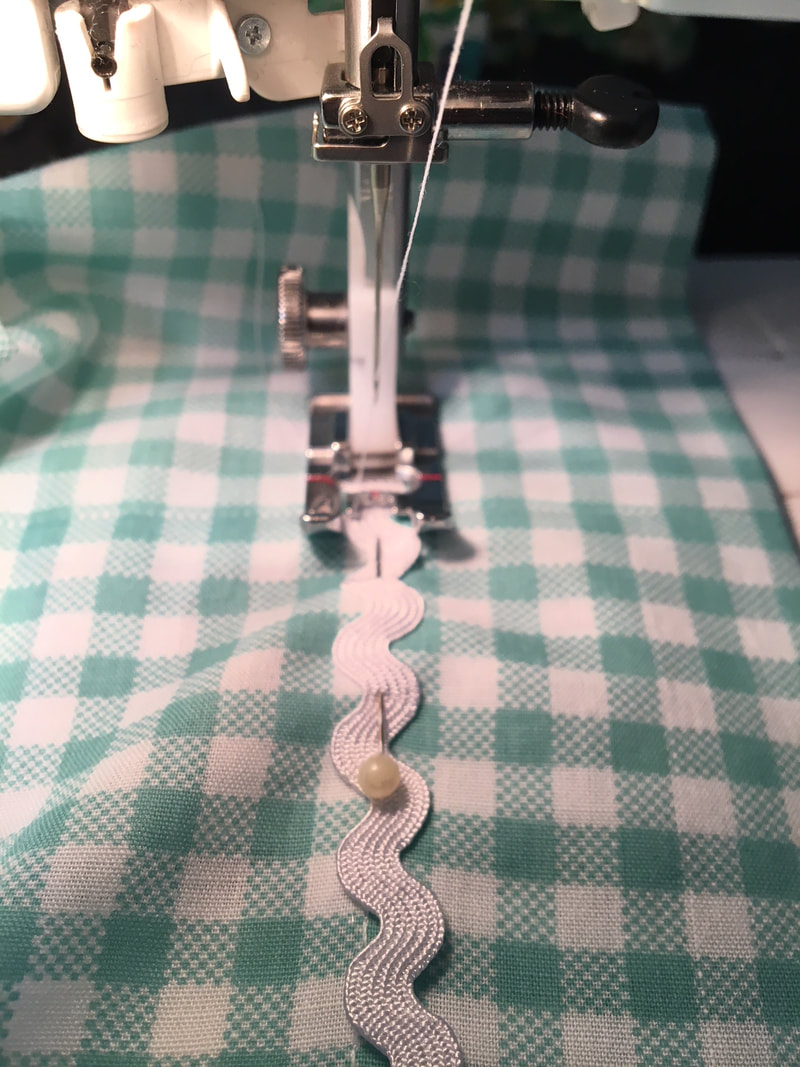
Skirt: Simplicity 3766 Brooch: Sarah Coventry from the Rock N Roll Markets 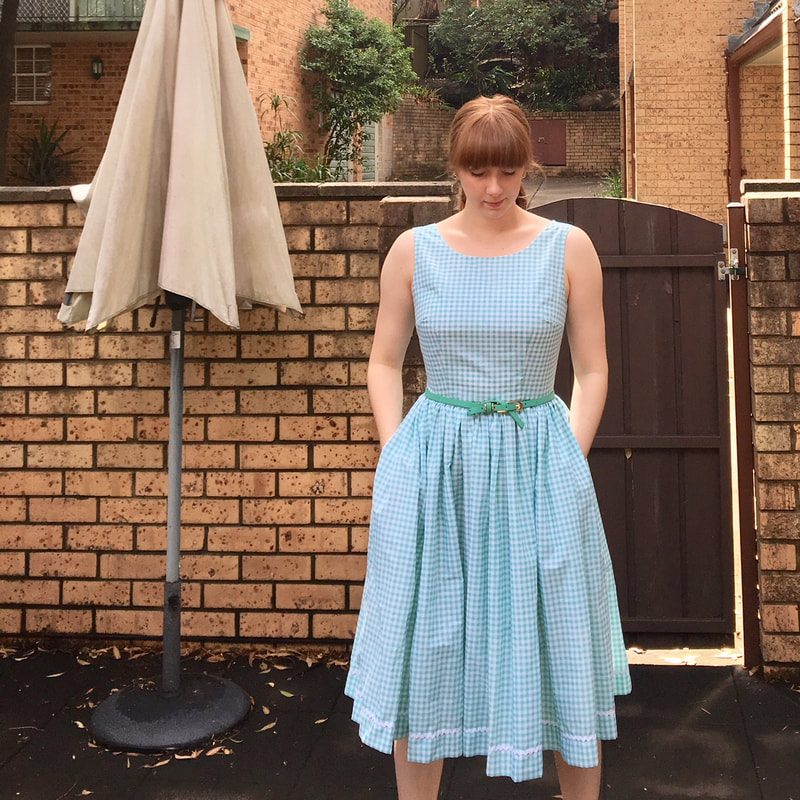 Something strange happened with this dress. Something for good! When it was started, I didn't really care about the finish of it. All I wanted was a new summer frock that fitted and had a cute 1950s sundress vibe. After hand picking the zip in only the white gingham squares I started to care about the details. The finish. The inside. The seam allowance treatment. I didn't want any visible top stitching. I didn't want to take the sewing machine route to a quickly finished piece. I took time and care in lining up the gingham so the horizontal lines ran uninterrupted around the dress. The waist seam was lined up to the best of my ability. It paid off. Now I have a wonderful little retro sundress which fits, has a lined bodice, contrast pockets, and ric rac trim! Seriously, look at that trim. 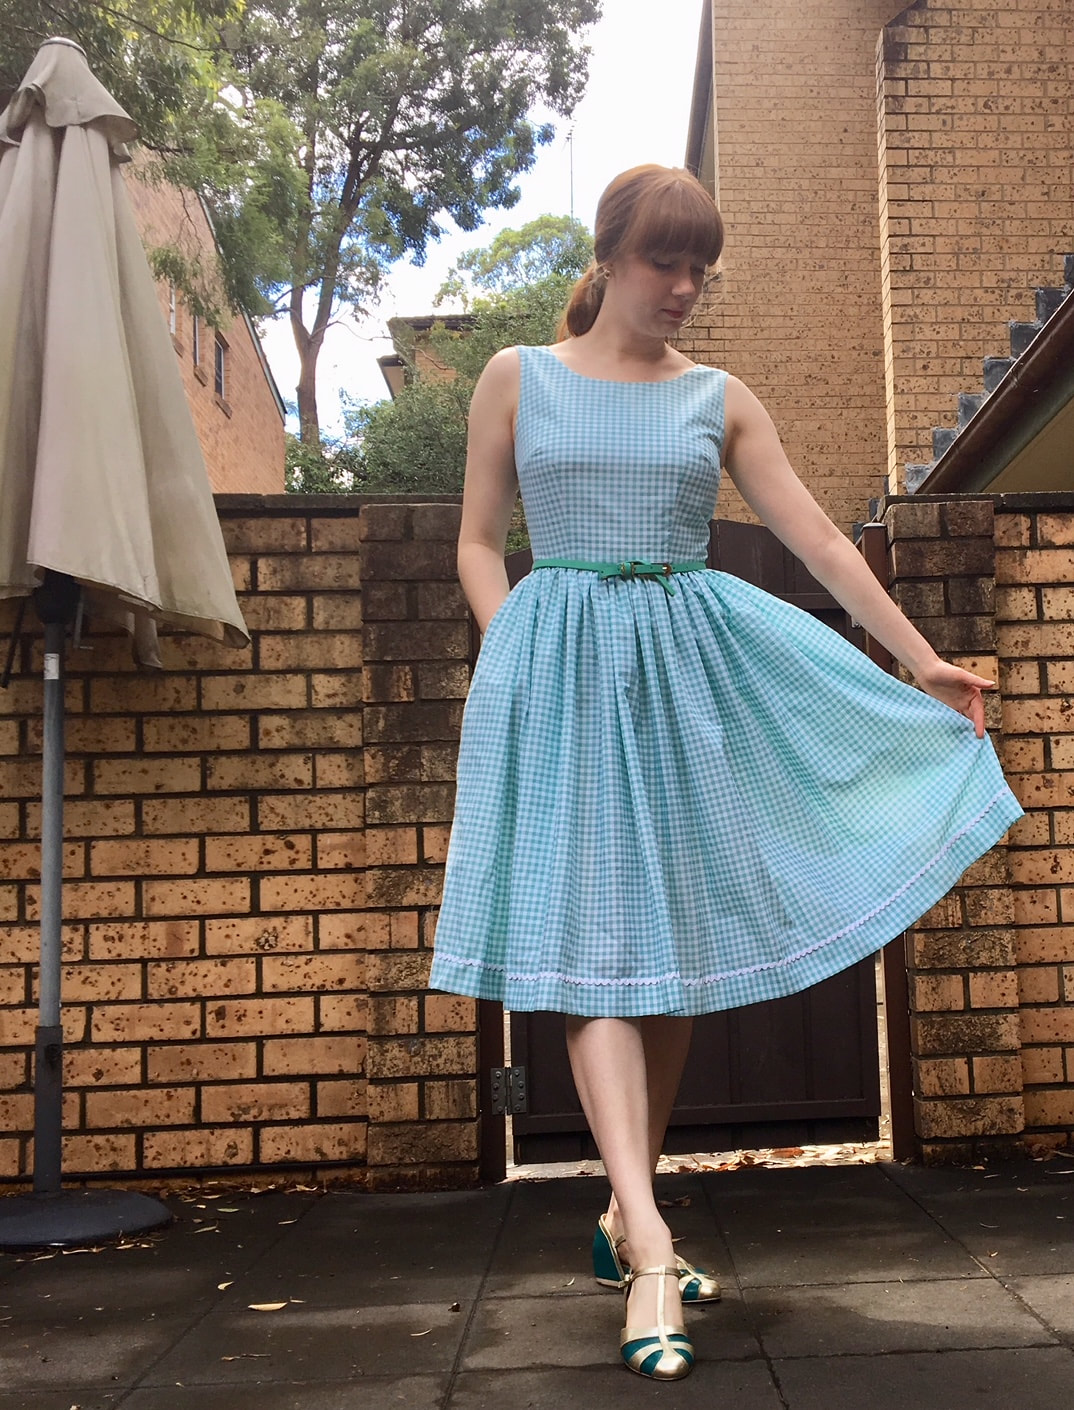 I wanted this dress to look like a 50s sundress, to wear on sunny days or at picnics. What better way to achieve that than... ric rac! The ric rac covers the 2" deep hem stitch line. So much love. This was my first time ever using a decorative trim. I usually prefer to leave the garment plain. But there is something that trim does to an outfit. Makes it look more authentic and finished.
The back bodice looks different to the usual Butterick 5748 since I changed the location of the zipper. It's easier to get into and I find it more comfortable with the back zip anyway. I don't mind that the sleekness of the original pattern has been lost. In the photo below I was chatting to my neighbour. 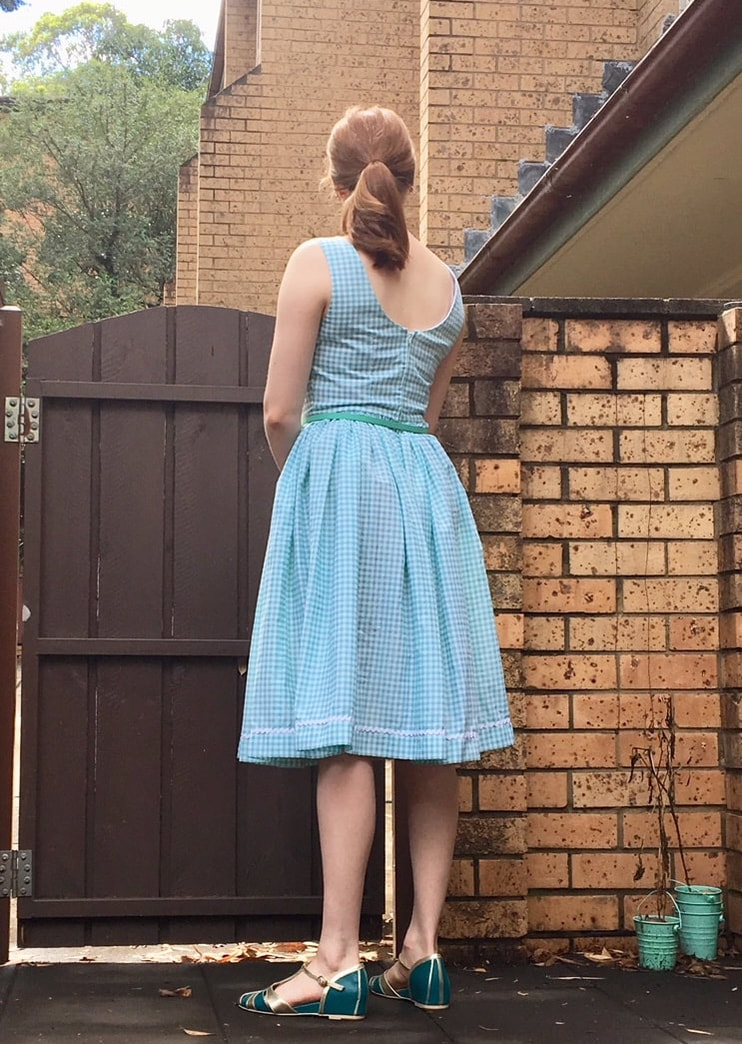
 The pattern is the lined bodice of Butterick 5748, size 12. That's where following the pattern ended. The bodice is lined like the pattern, but not the skirt. I used Hong Kong seam finishes for the skirt seams. To me, doing a full lining in a summer dress is just silly. Mods: Side zip changed to back zip, 16" zip - love it Circle skirt changed to gathered skirt In seam pockets added to both sides The dress had a first time outing to a lovely lunch for Dad's birthday. We were in the city all day so I took a cardi with me in case. The dress was comfortable and breezy. I absolutely love it.   Dress: Butterick 5748 (modified)
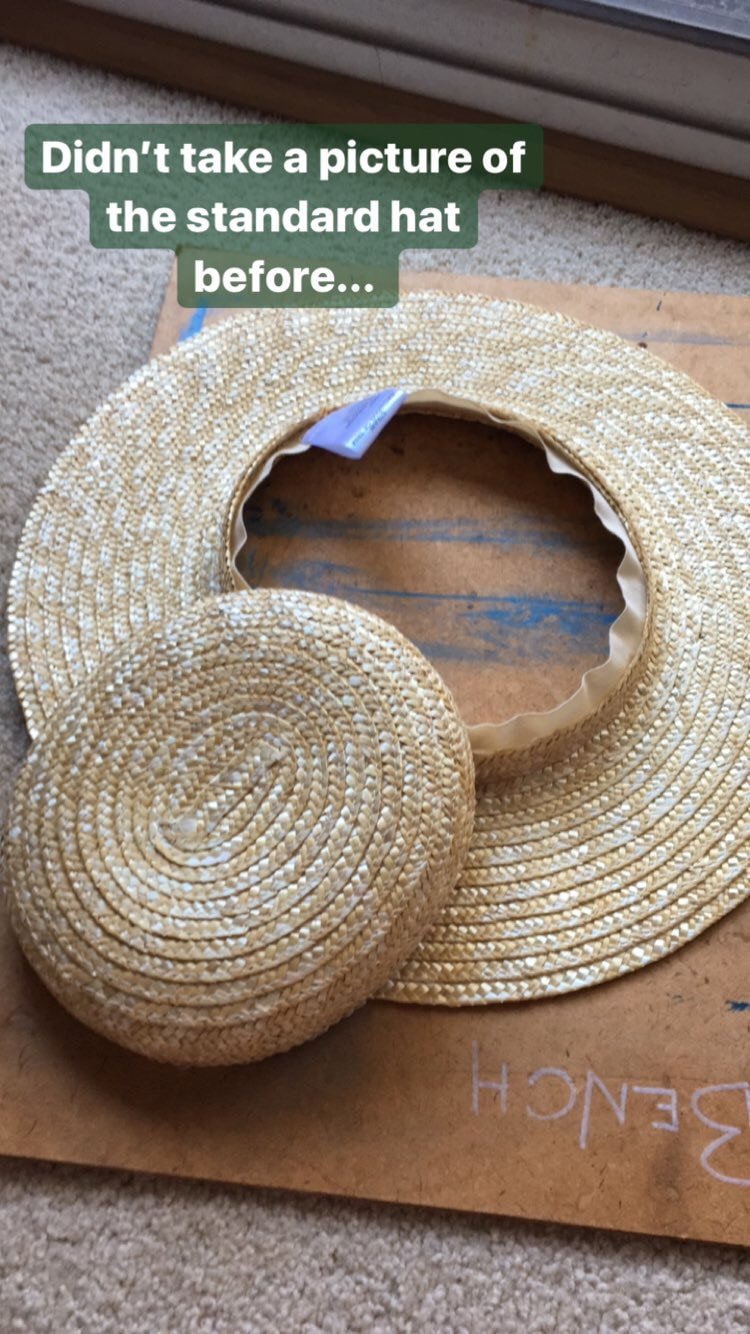
Shoes: Charlie Stone Shoes Bag: Vintage Belt: eBay Cardigan: Cotton On from years ago  I made a hat. Well, I chopped a hat apart and then re-made it! It is the hat of my vintage dreams. Emileigh Rogers has a great blog with this tutorial to create a gorgeous vintage style hat. It was really easy to do and took perhaps 15-20 minutes to complete.
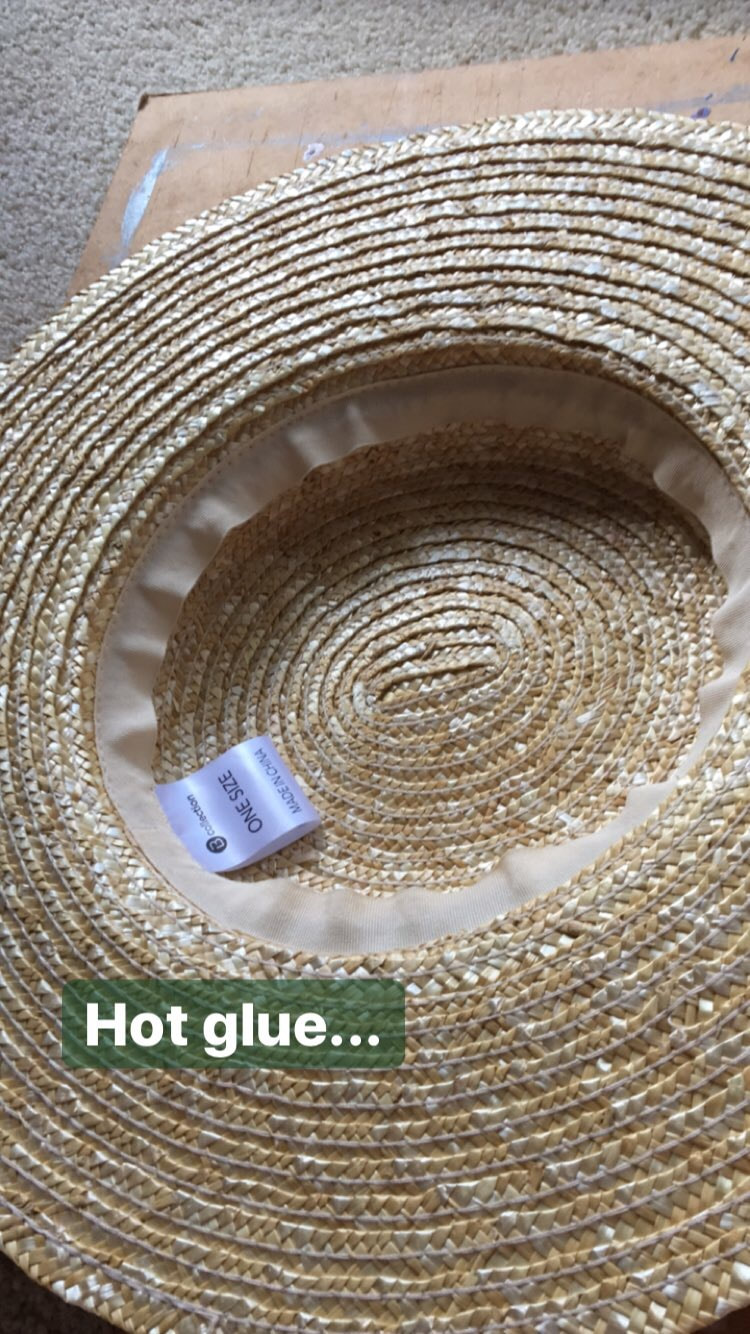
First, I had to remove the black ribbon band so I could use it later on. Then I hacked the top from the brim, and then the very top part off as well. I went for about an inch of height at the crown of the hat. The top was a bit smaller than the hole at the brim so I hot glued the inside hat ribbon to the top. It's a bit terrible, but got the job done! The photo below show the new shorter height of the hat. I have to pin it to my head. I might experiment with combs, or even a cute ribbon to tie under my chin... something removable maybe. The flowers were lying around and I jammed them into the ribbon. 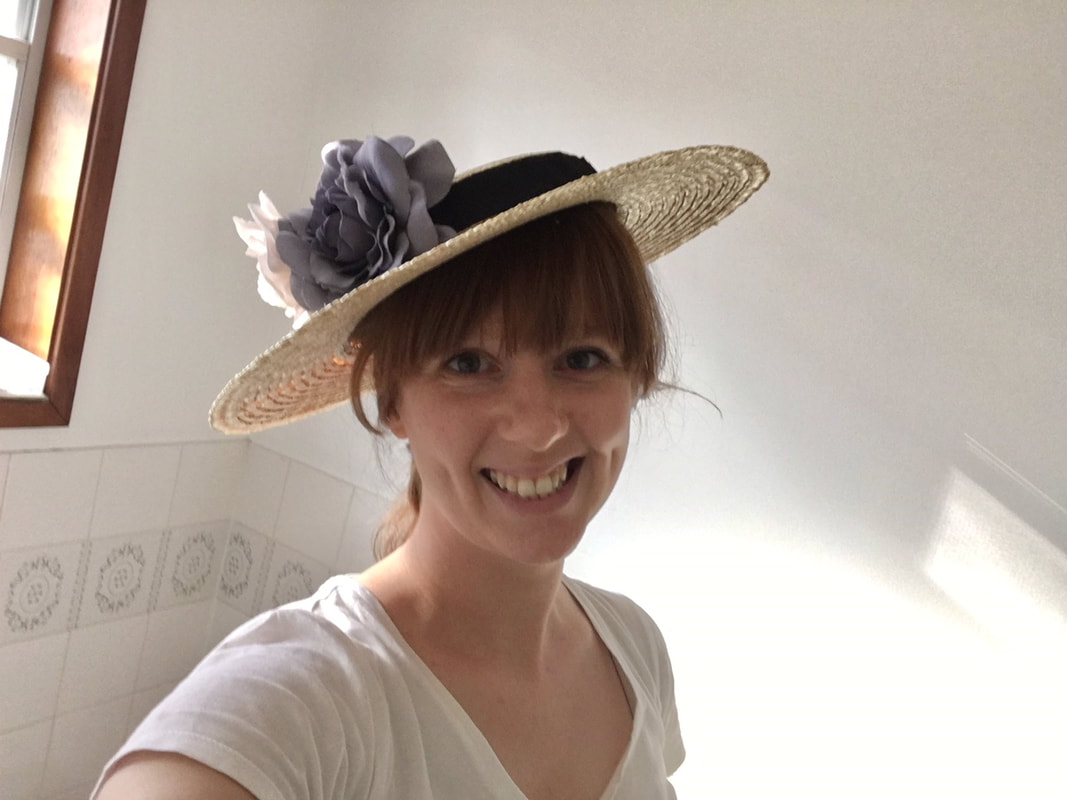 Having the flowers underneath are a winner! They are only in my hair, not attached to the hat at all. So cute. Bring on summer! 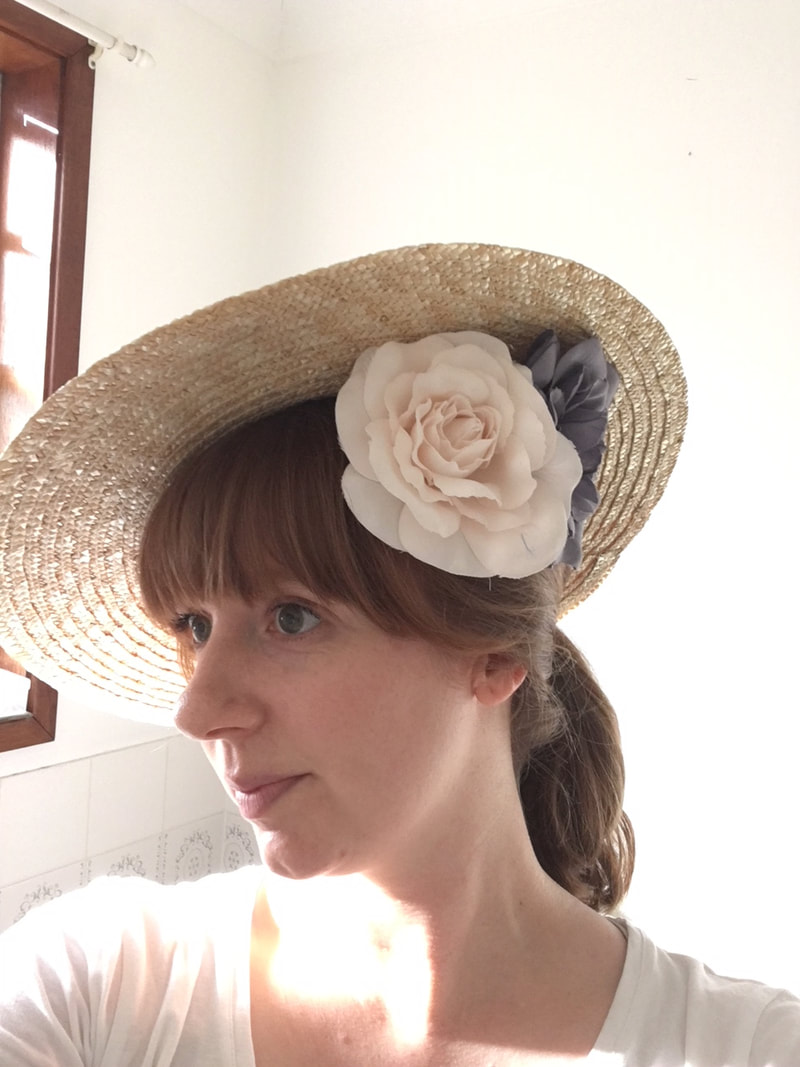 Flowers: Kmart years ago
Hat: from Big W here |
AuthorKnitter. Home seamstress. Dance Teacher. Archives
April 2023
Categories
All
|


 RSS Feed
